 |
I didn't take pictures prior to the priming.
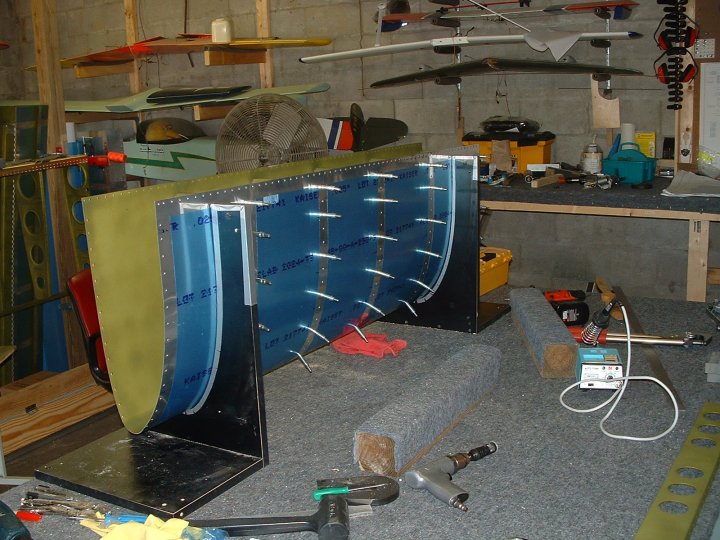
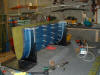
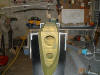
I would think that by now you would have an idea as to what bare aluminum
looks like!! Here is a shot of the left outer wing leading edge being
framed up. |
| |
|
 |
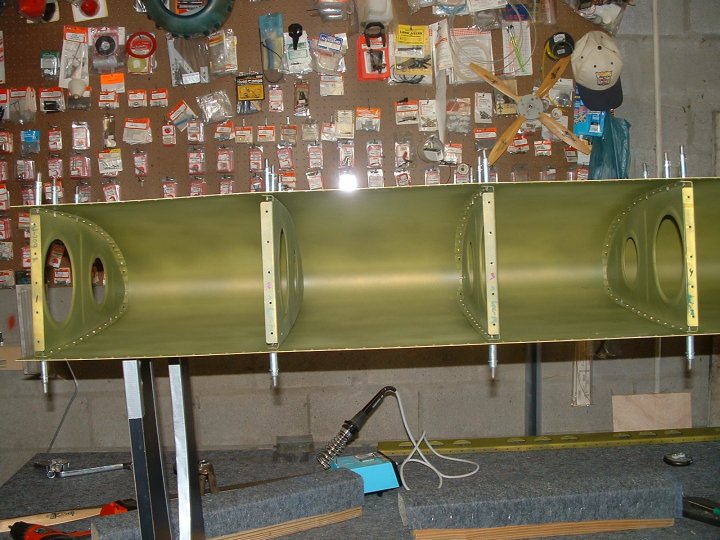
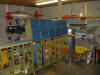
Framework in place
looking in. |
| |
|
 |
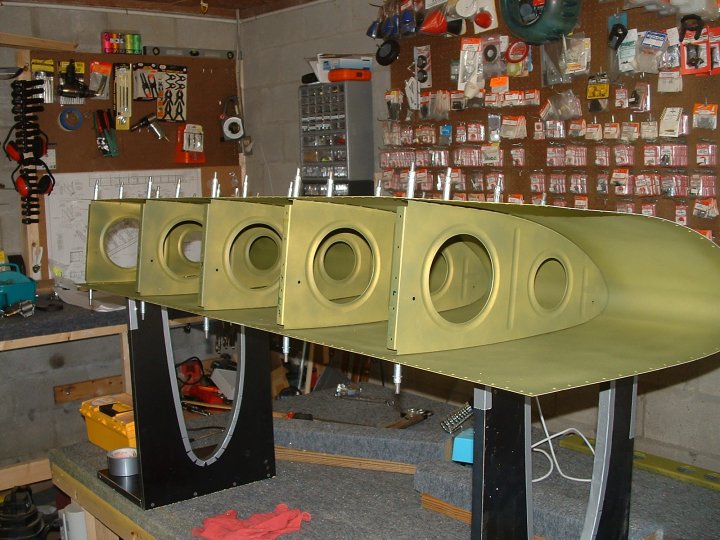
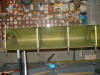
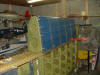
Another shot from a different angle. Almost
ready to final rivet it together. |
| |
|
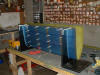 |
Everything fits and I
have it in a couple jigs I cut to help hold it for riveting. This is the
point where I
learned you really can actually rivet all by
yourself..............contrary to earlier beliefs!! |
| |
|
 |
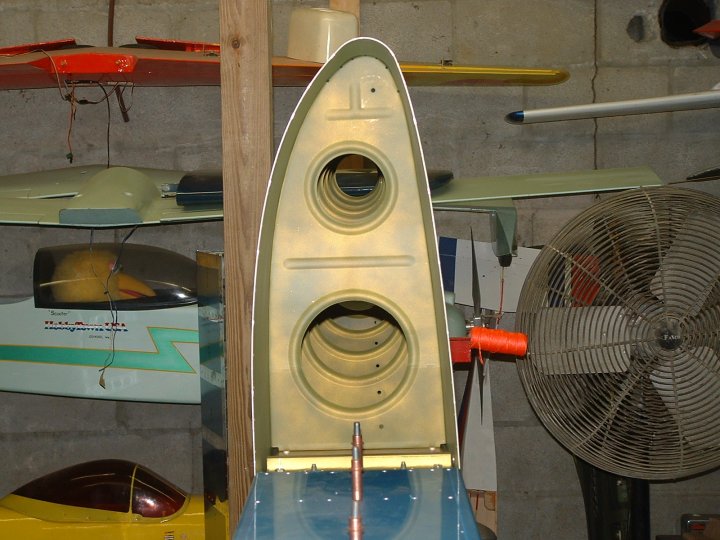
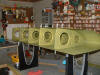
Looking at it from the end. |
| |
|
 |
Now it's attached to the wing right where
it's suppose to be. With that done, I realized that either I overlooked
something or it's just not clear in the documentation (still haven't found
it). The inner most rib with the splice strip on it has not been put in
yet and it really should be prior to attaching this to the spar. |
| |
|
 |
Another shot with the
rib missing |
| |
|
 |
With a little work and determination (OK....a
lot of work and ton's of determination) the rib can be installed after the
leading edge is in place. The right wing leading edge will be all complete
before mounting. With a project such as this, we learn from our
oversights!
 |
| |
|