 |
The skins have been clecoed to the top and the
aileron fitted to the wing for measuring and clearance purposes. |
| |
|
 |
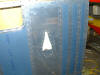
Shot of the bottom of the wing with the inboard
bottom skin in place to be sure everything is lining up properly. |
| |
|
 |
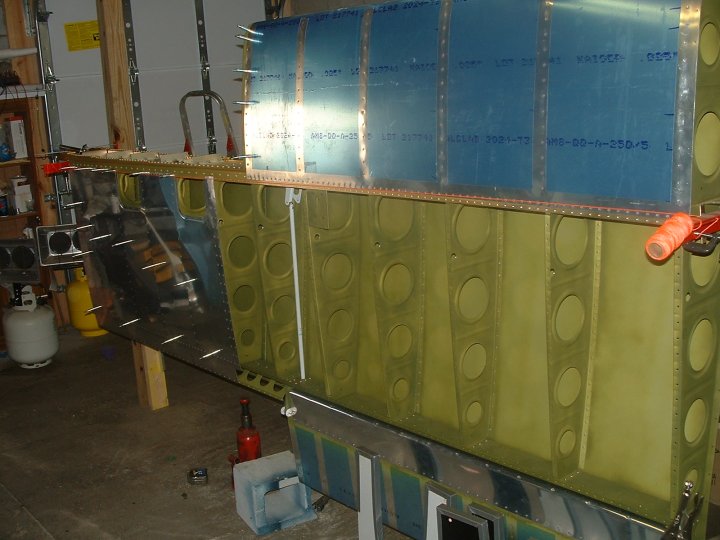
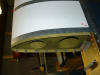
And the top skin is permanently attached. This
side was easy since full access to the back side for bucking the rivets was
there. The bottom skin will be another story! |
| |
|
 |
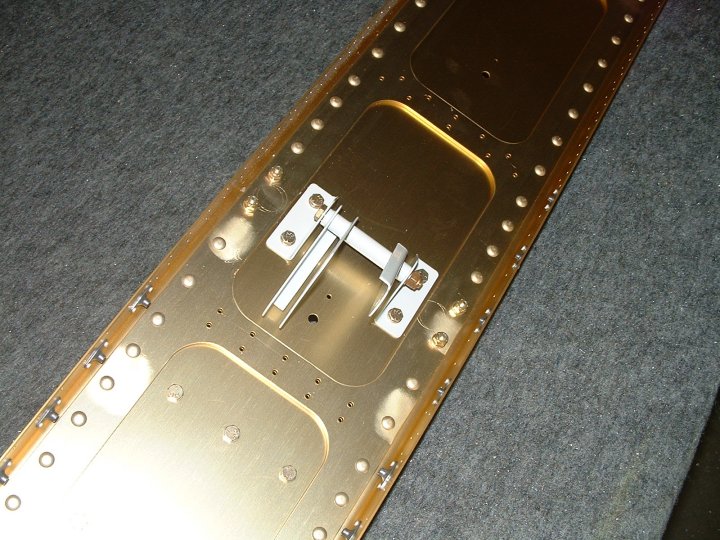
Aileron bellcrank final mounted and the lock
attached to hold the aileron in the neutral position for now. |
| |
|
 |
Bottom view of right wing
prior to skinning |
| |
|
 |
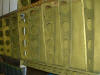
Completed bottom of right
wing with leading edge attached |
| |
|
 |
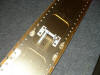
Splice joint where the
leading edge and fuel tank will meet. The nutplates are in place for the
tank to bolt on with |
| |
|
 |
A small inlet in the
lower side of the wing will help keep the rear seat passenger cool |
| |
|
 |
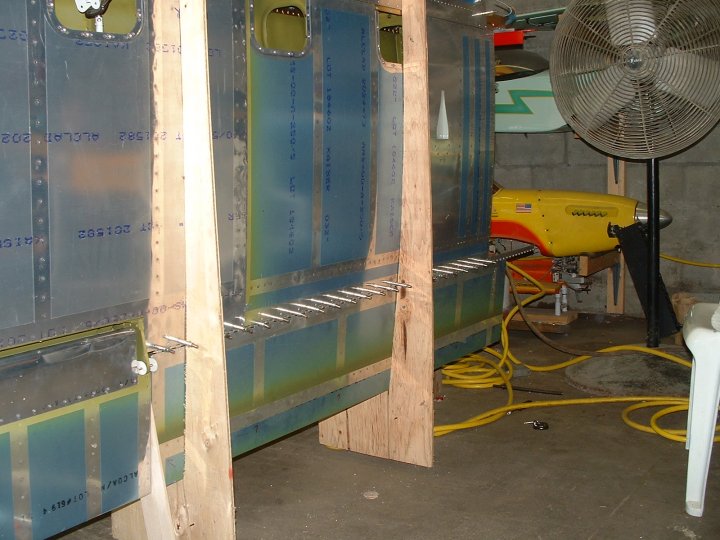
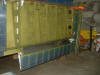
Jigs used in fitting the
flaps into position |
| |
|
 |
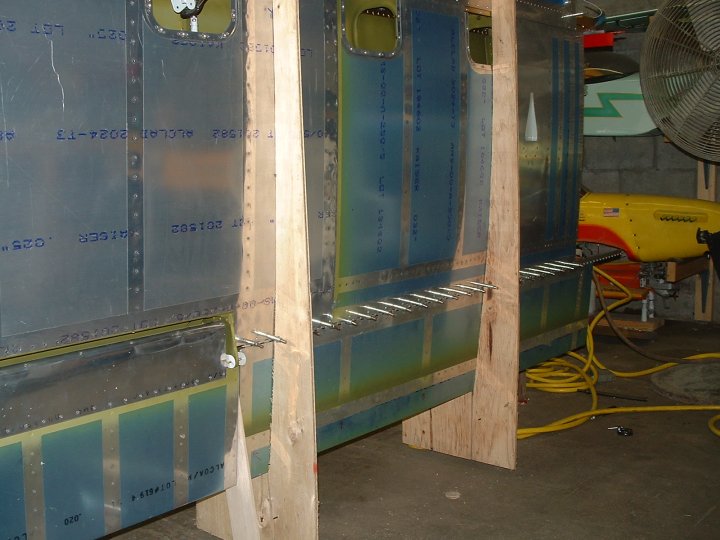
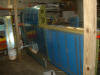
Another shot being sure
the flap is in the right position. The hinges supplied in the kit did not
seem wide enough and the edge distance wasn't enough to suit me so I called
to see what to do. Van's was able to supply me with a wider hinge after I
didn't like the first suggestion they offered. I was first told that the
flap and aileron didn't have to line up...................NOT an option for
me!! |
| |
|
| |
|
| |
|
| |
|
| |
|
| |
|