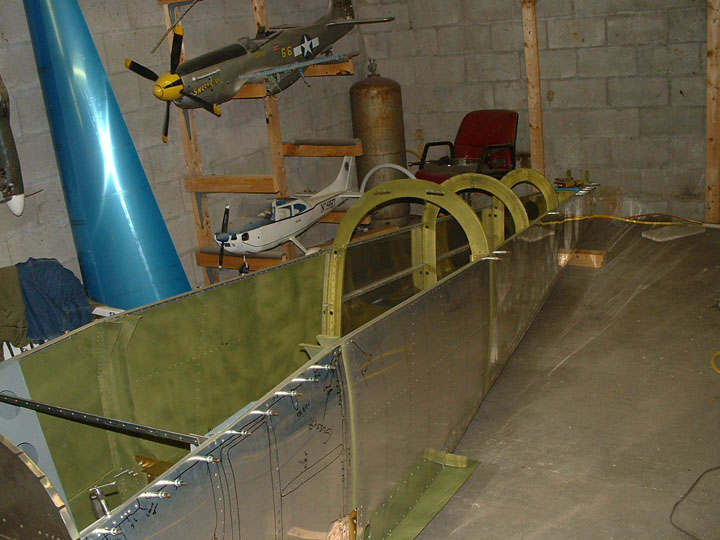


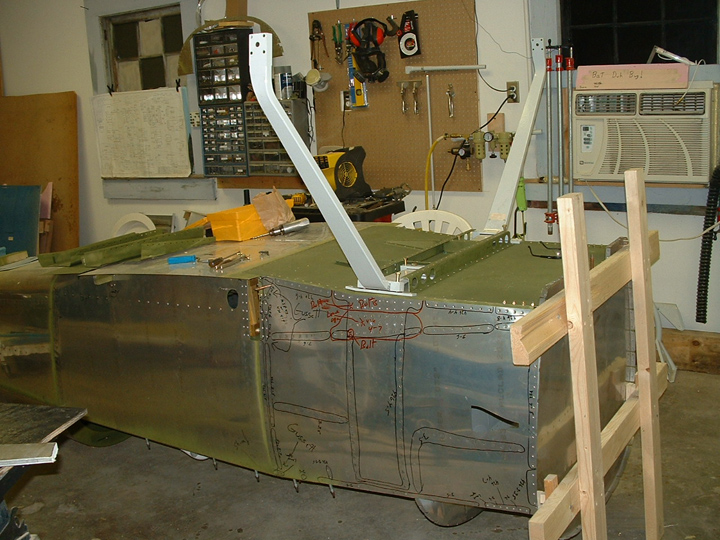
Well it's FINALLY out of the Jig. I've actually been able to step inside although could not sit since there are no seats yet. After months of not being able to work on it, thanks to the help of a fellow pilot friend we got the skins done and on the floor in 3 Saturdays. Now I'm really motivated and the wife has threatened to move a bed to the shop!!
|
|
Well here it is actually sitting on the floor. It was a long time making it here but persistence won the battle. |
|
|
A shot of the gearboxes mounted. |
|
|
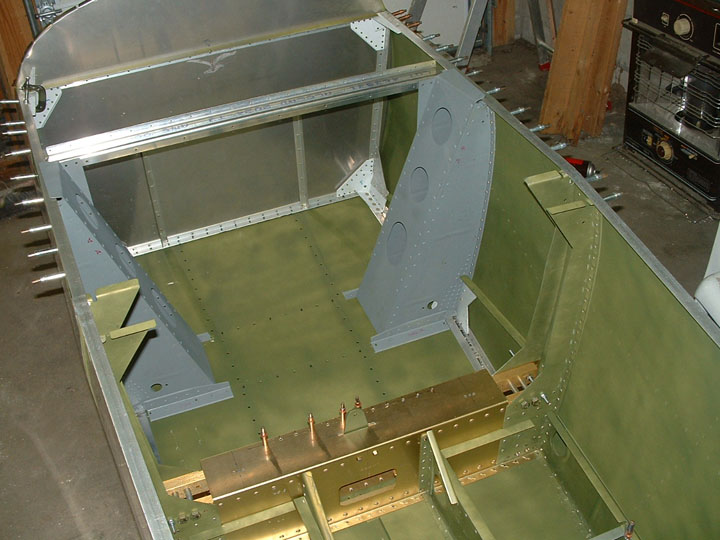
Cockpit area forward |
|
|
From the tail (bow) looking forward to the firewall (transom) :-) |
|
|
I left this picture dark so if you look close, you can see the laser beam on the bulkheads and firewall. I used this to confirm that the fuselage was true |
|
|
Here I am getting the gear in place and ready to final drill. Rather than using tape measurers to get them aligned, I used laser lines. First I set a laser light to draw a beam down the center of the fuse on the floor, then using a magnetic one stuck to the gear leg and drawing another beam on the floor I measured the distance between the lines in front of the fuse and at the rear. When the distance was the same, then the gear was where it needed to be. Far more accurate than the other way and far less work involved. |
|
|
Both feet on and ready for the holes to be drilled. |
|
|
All of the holes drilled and bolts in place. |
|
|
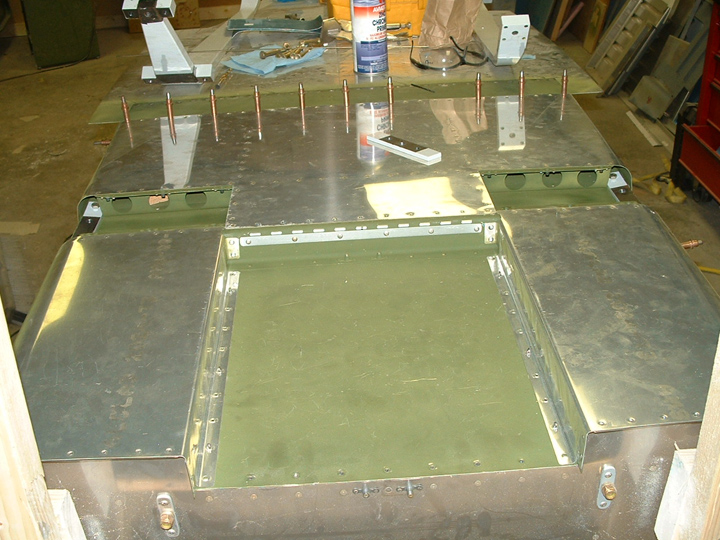
With the gear removed, all of the lower skins are riveted in place. |
|
|
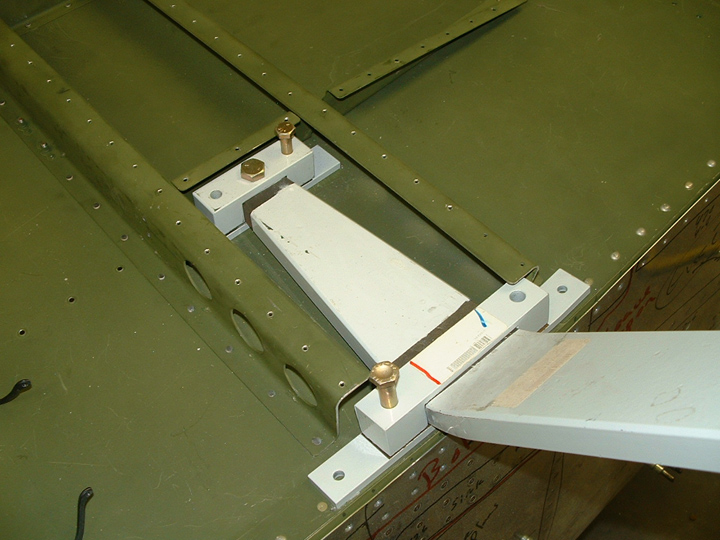
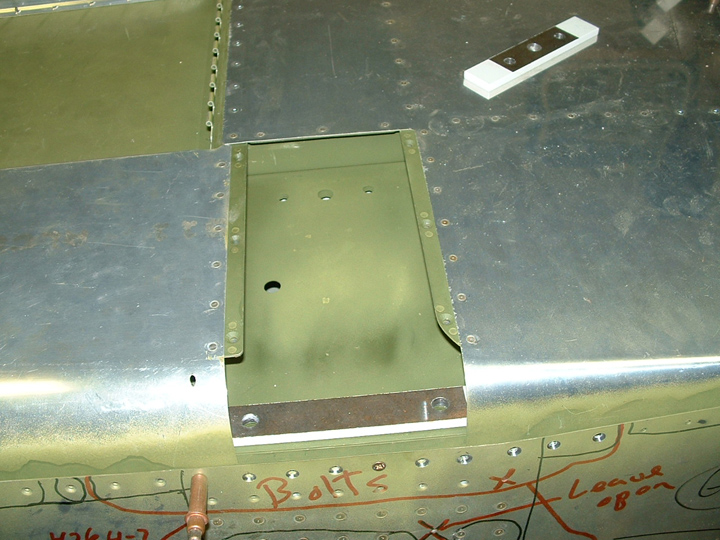
Shot of the air ramp attachment hinge. |
|
|
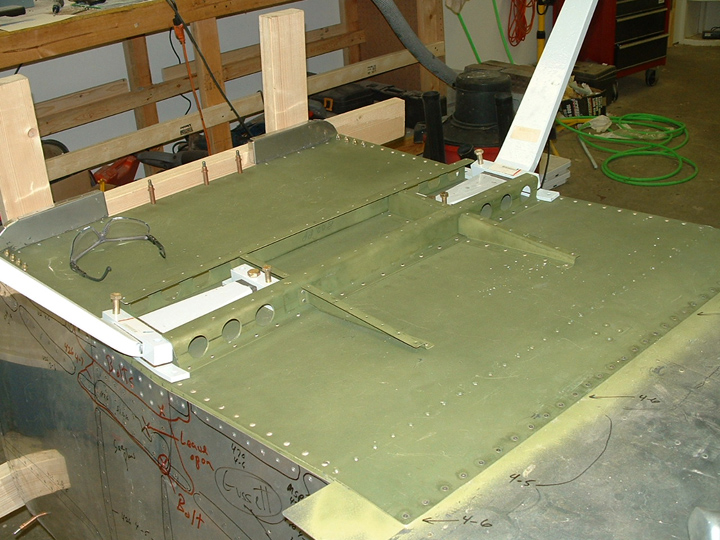
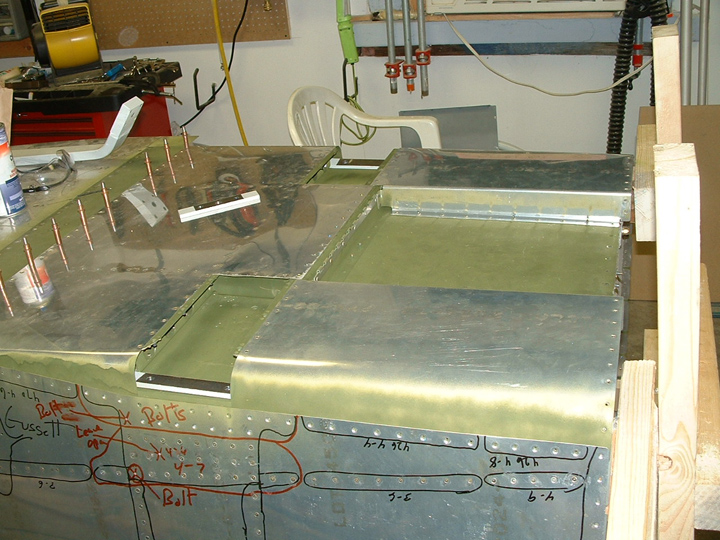
One last shot before the legs go back on for good. |
| Well now that it cannot be used as a canoe any longer, I guess I'll move on to another page. What should I call that? Maybe " The Fuselage" ? | |