


If I keep moving along, it will one day grow up to be a real aeroplane. One thing I've learned through all of this is to be patient and move along slow. It will be finished when it is finished. I have so many people ask "When will you fly it" and I always give the same answer. I'm not on a schedule and the day I start the engine and taxi out to the runway for takeoff will be the day I fly it, no sooner and no later!!
Oh, by the way, it is now at the airport instead of my garage. I needed more room and with another builder there, helping hands are only a few feet away.
|
|
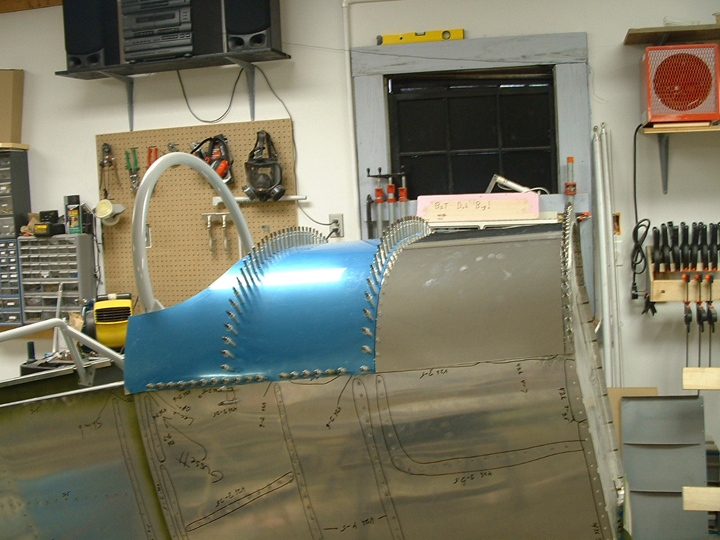
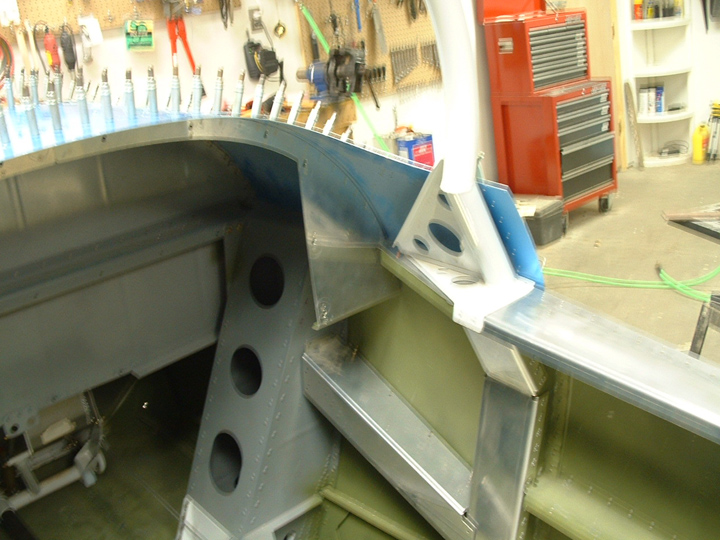
Well it's starting to look like an Airplane............Maybe!! |
|
|
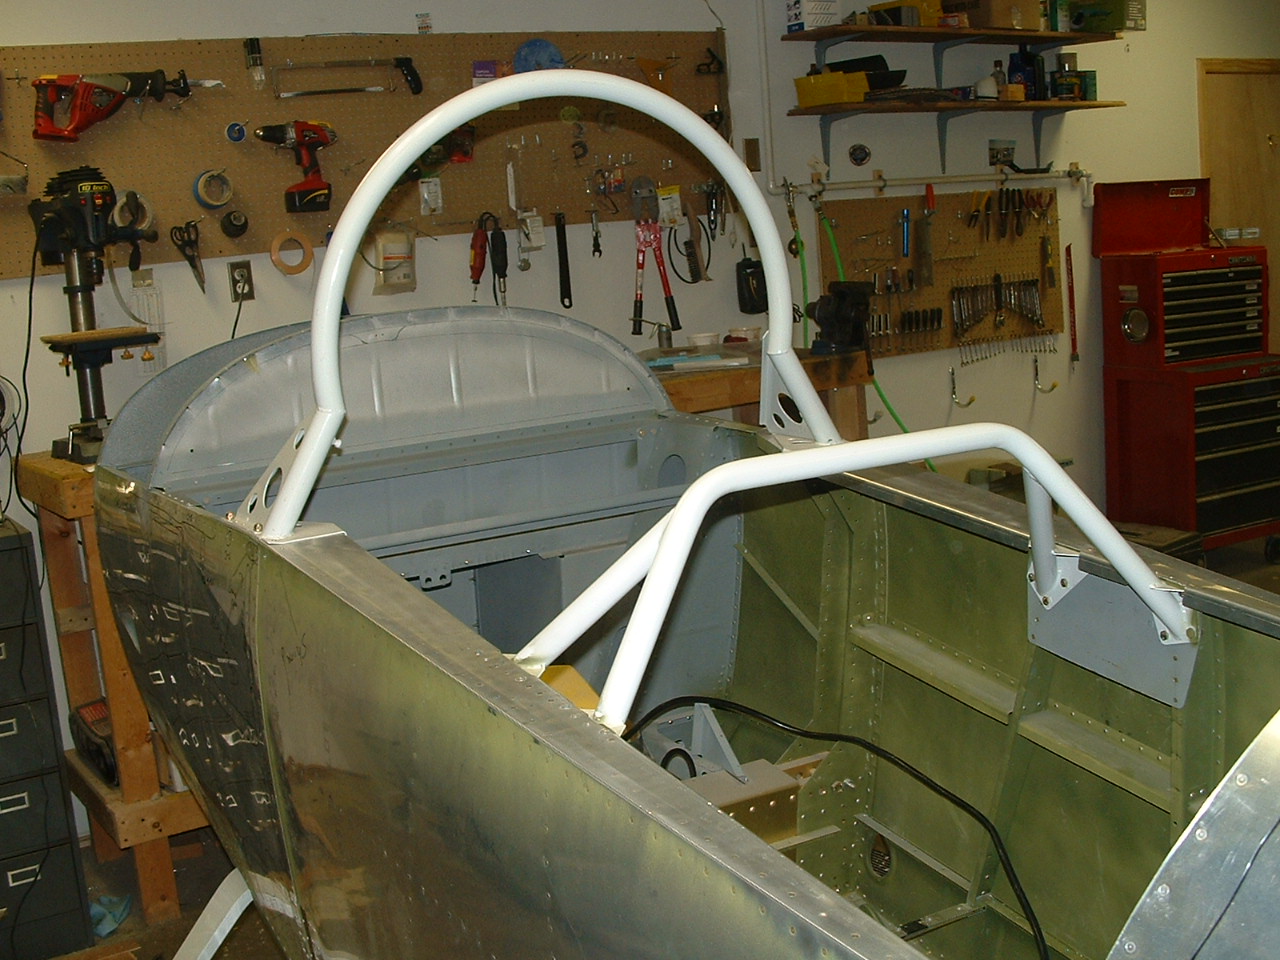
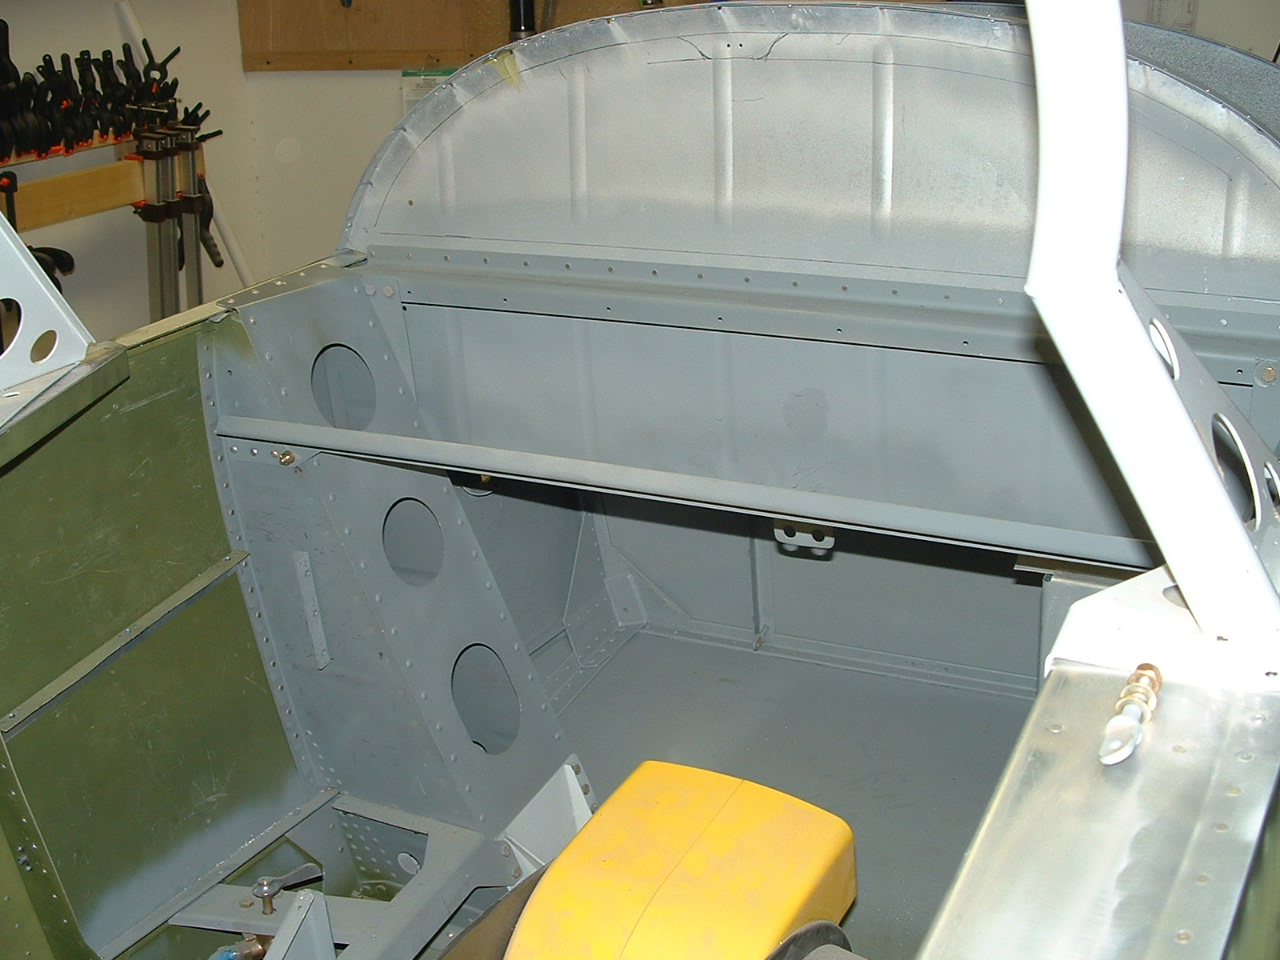
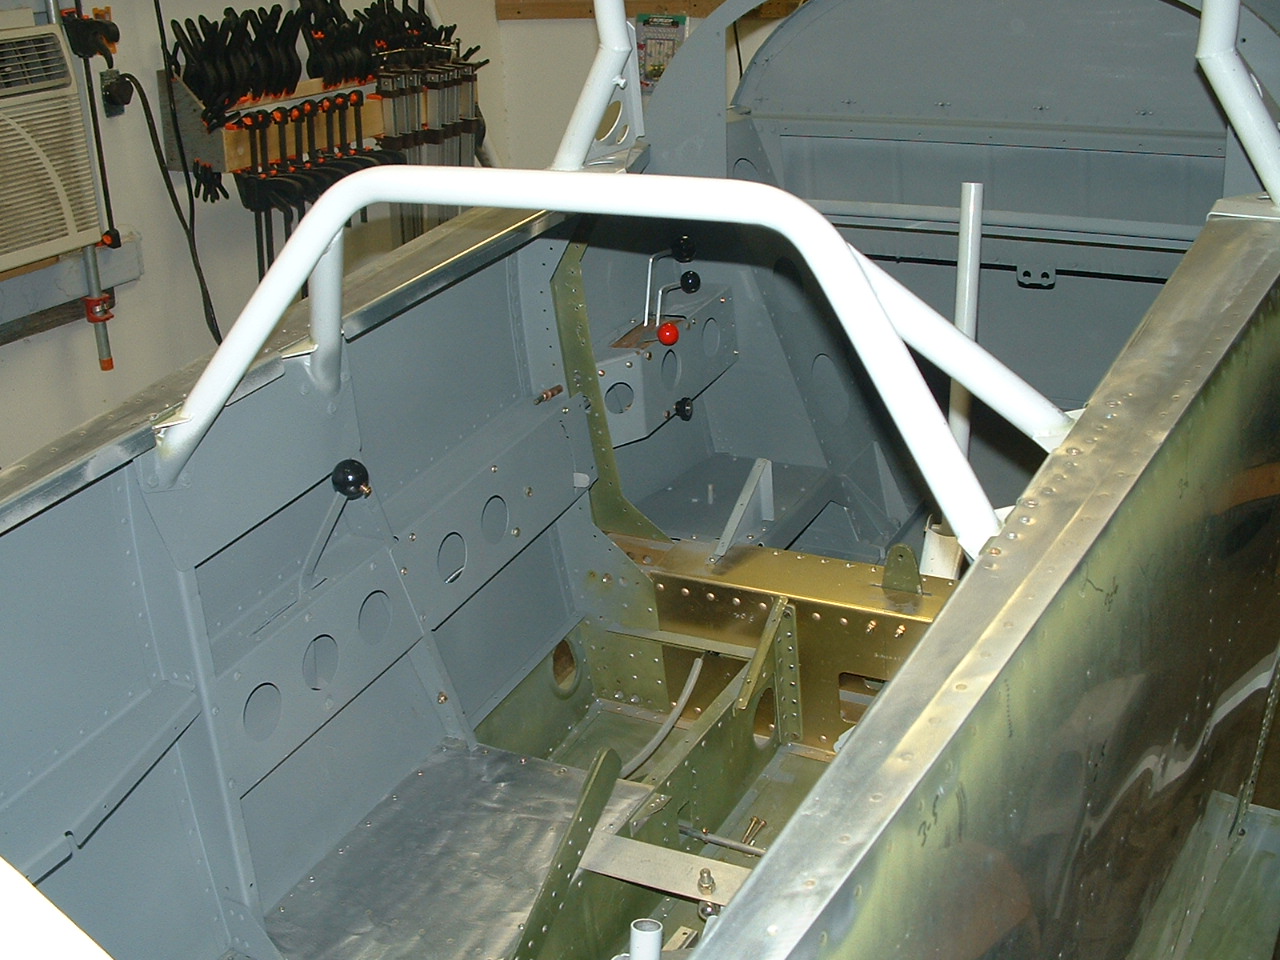
Rollover bar and front cover in place for final fitting. |
|
|
Side view with all those cleco's in place. I use one in every hole to be sure it didn't have a loose fit. |
|
|
Another shot of the front |
|
|
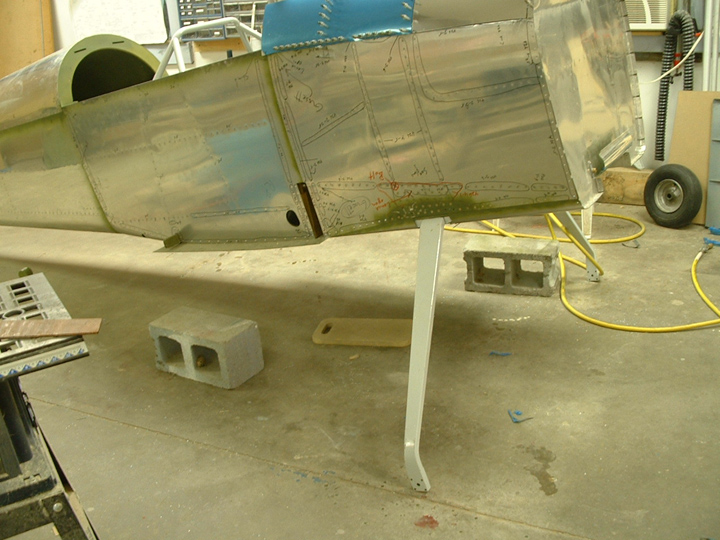
Sitting on the gear. |
|
|
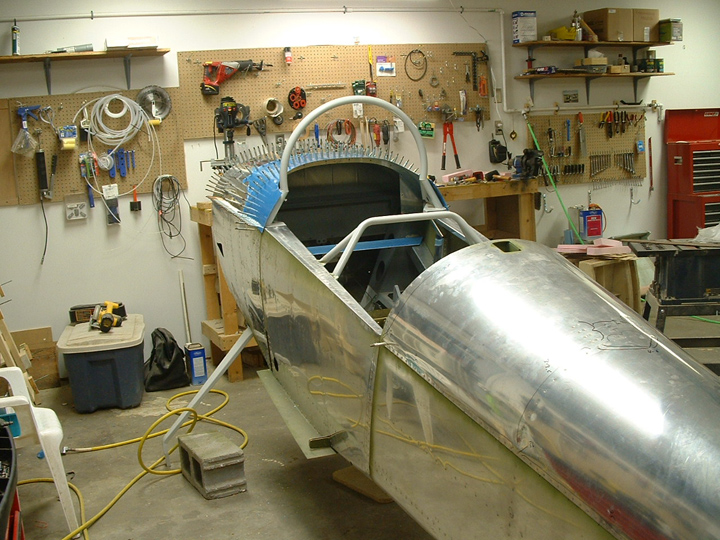
This is the site I hope my buddy building a KR-1 will always be seeing, you know, from behind me!! All jokes aside, he's a good guy and I love to rib him about his wooden airplane. Without his help, some of this would have been a lot harder to do. I'll probably even let him fly a real airplane when it's done! |
|
|
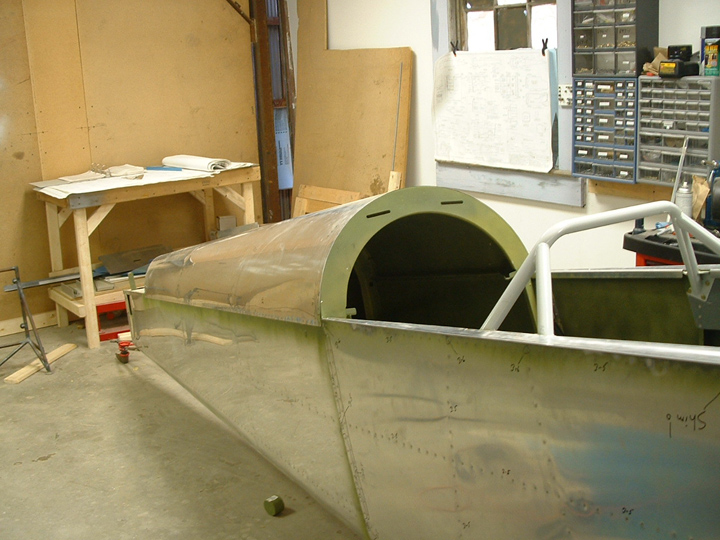
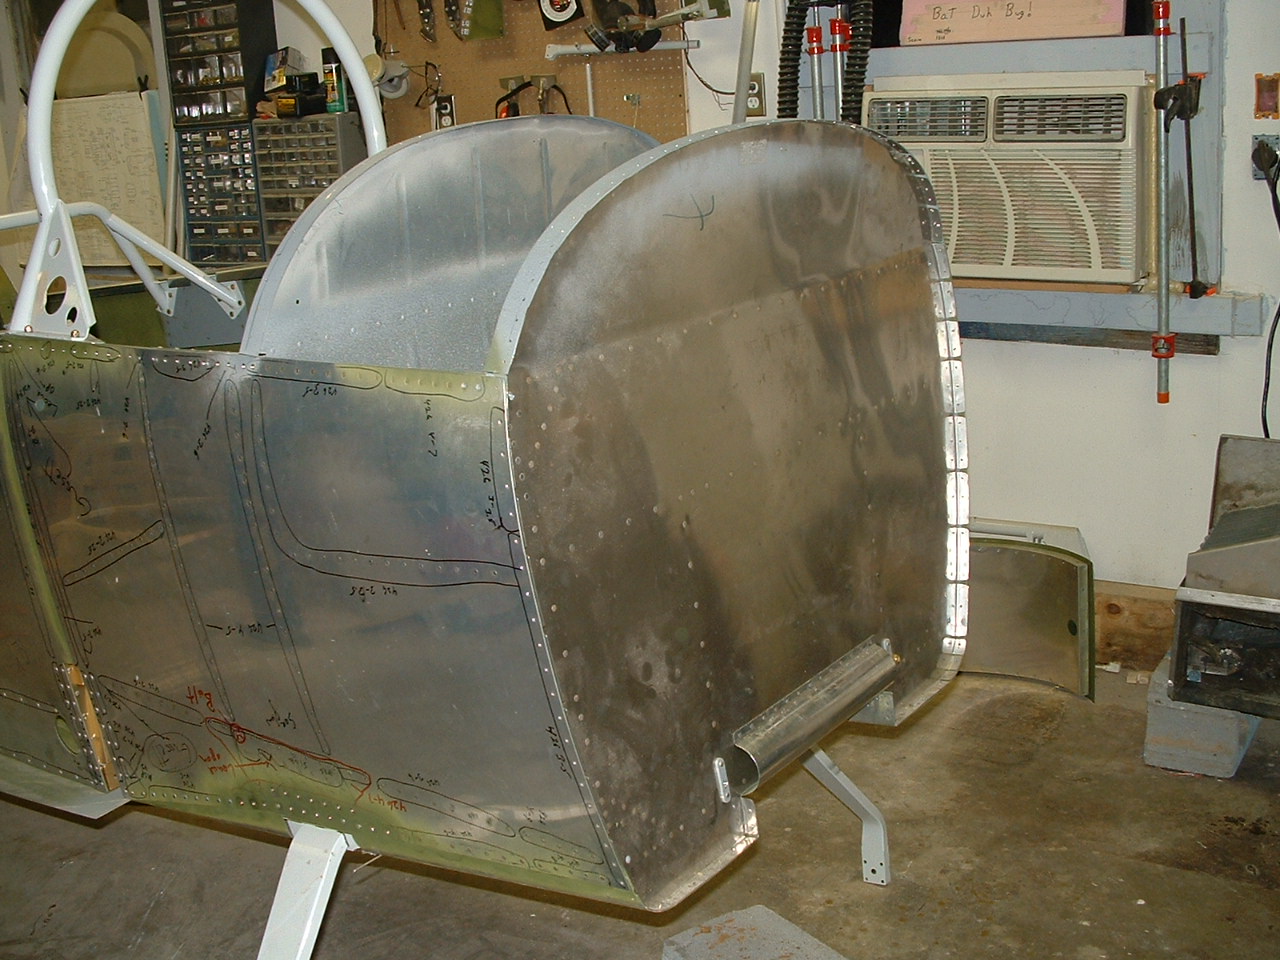
From the tail |
|
|
Looking back. Now this is what he tells me he will be seeing from his KR. I don't really believe him though! |
|
|
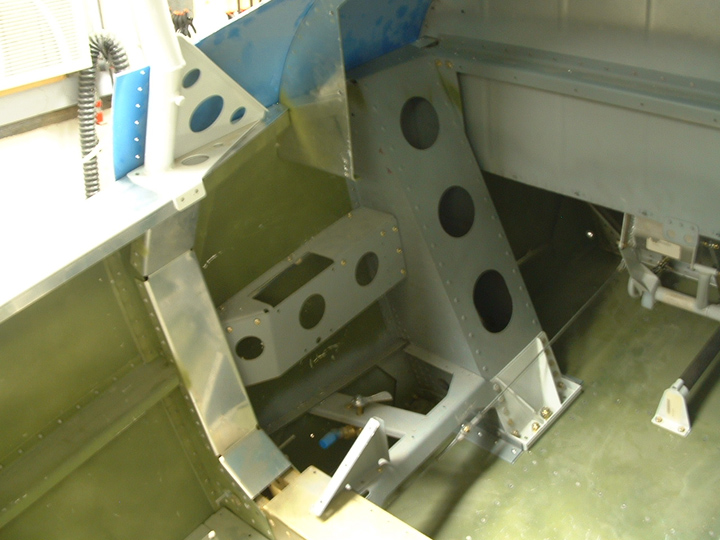
A place for my feet. |
|
|
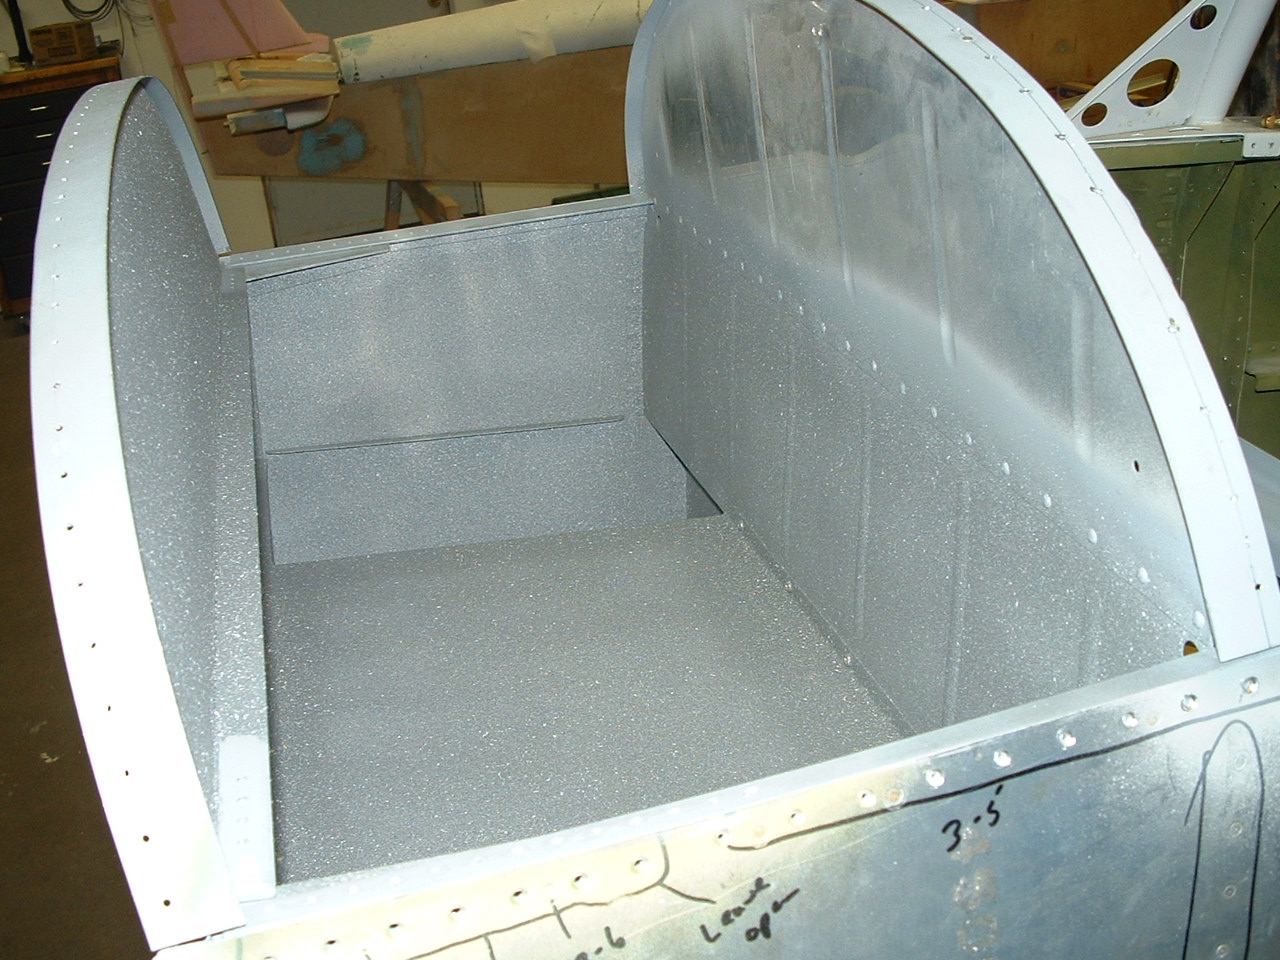
Still lot's to do inside. |
|
|
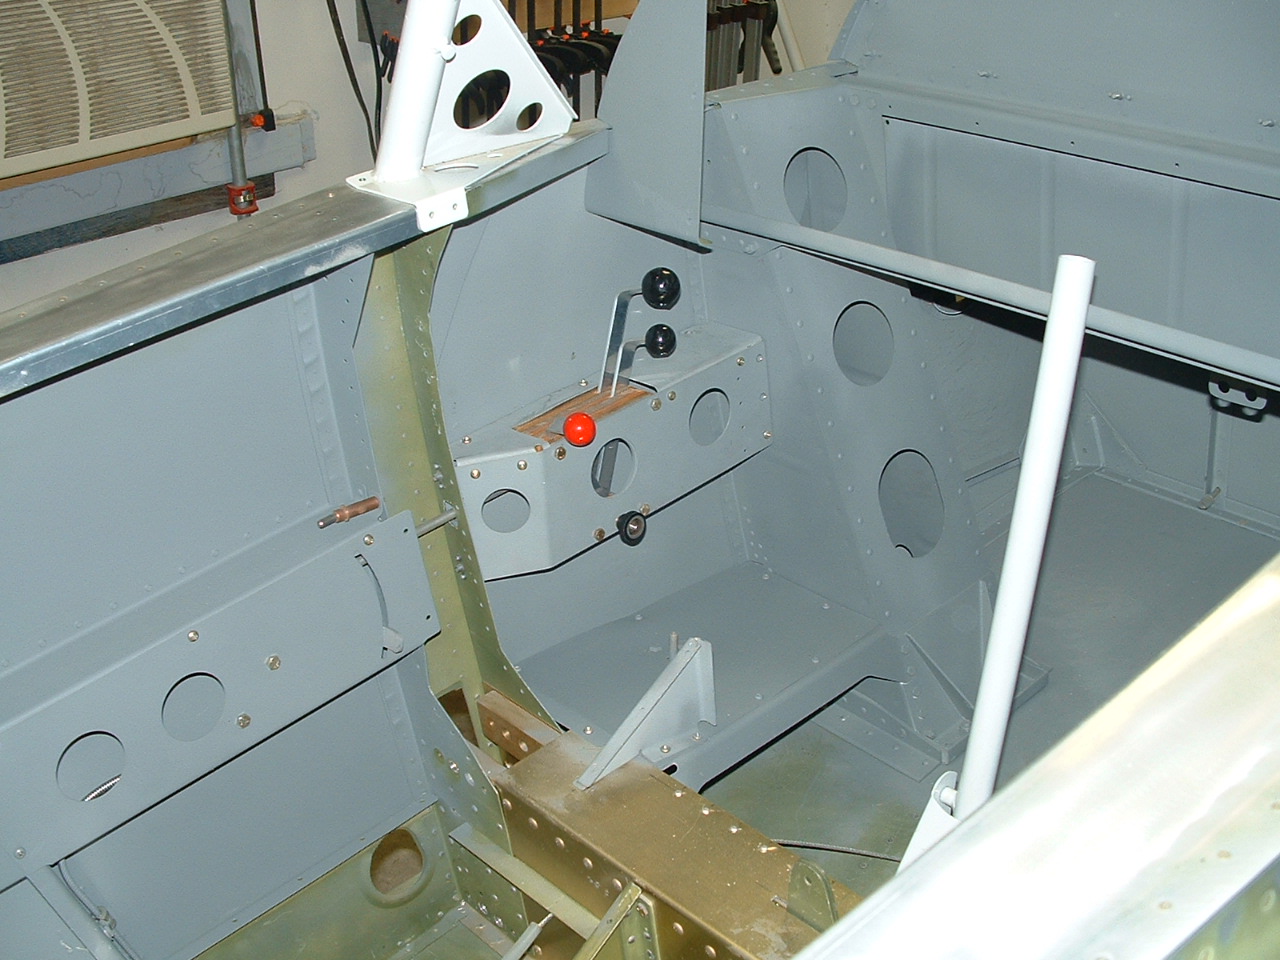
The "GO" lever spot |
|
|
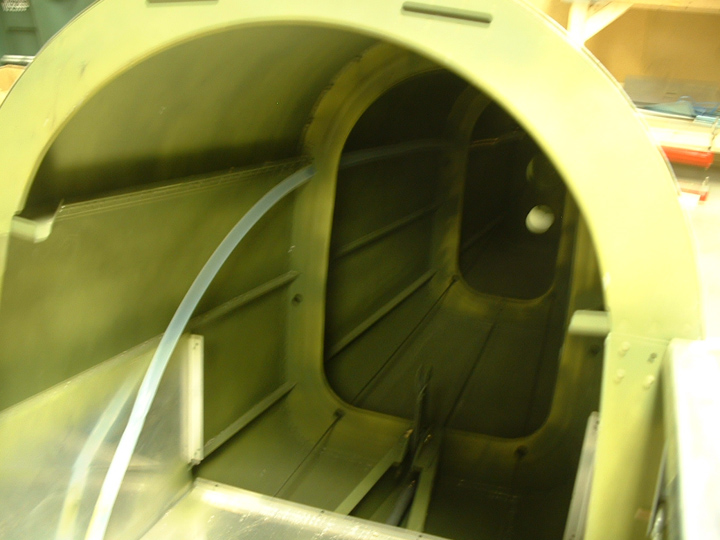
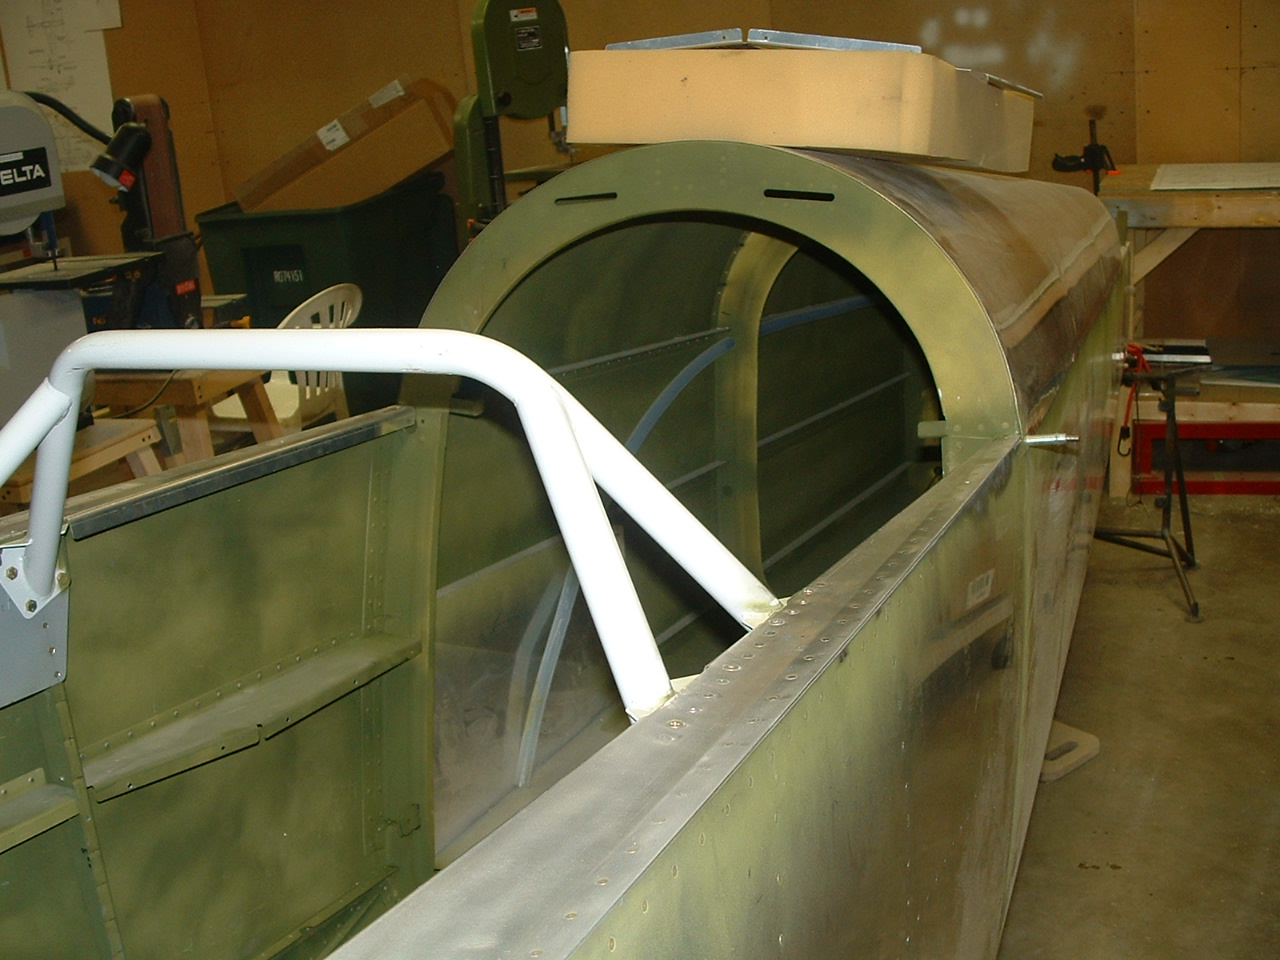
Looking into the tail. The tubing you see is to run the light wires and trim wires to the tail in. The company I work for manufactures this so I felt it was only proper to use some of it. Besides, it was free!! |
|
|
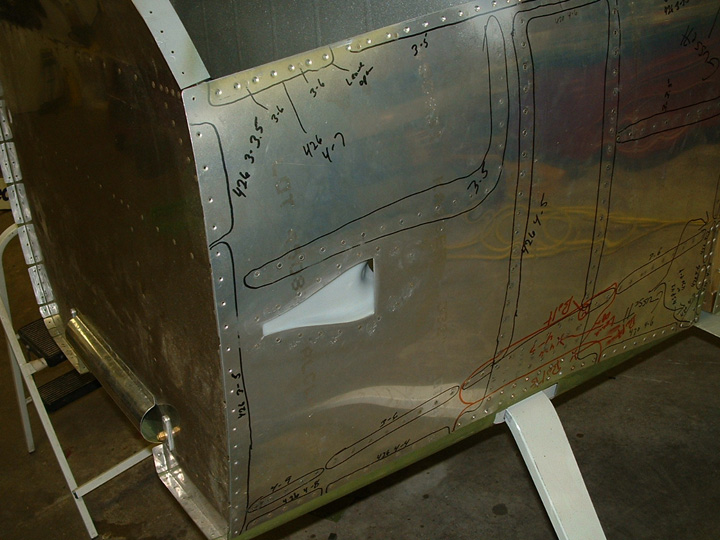
Side and back. |
|
|
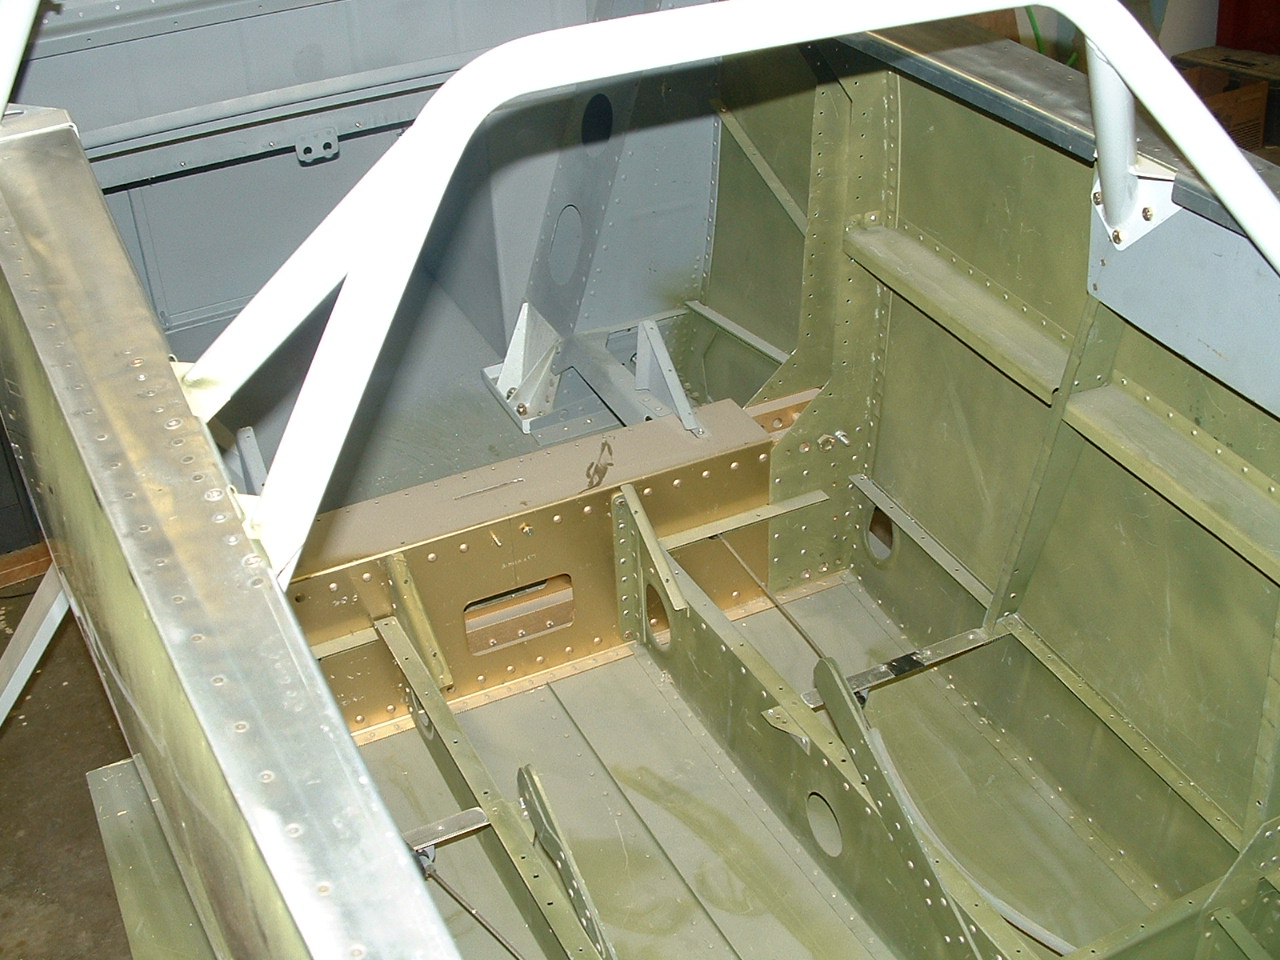
Canopy support. |
|
|
Under the seat. I'm starting to install the aileron trim. Pictures of that soon! |
|
|
Side looking forward. |
|
|
Firewall with air ramp in place. |
|
|
Looking back. This is the view I'll see when looking over my shoulder for my buddy in his KR! |
|
|
Shot looking at the "feet hole." |
|
|
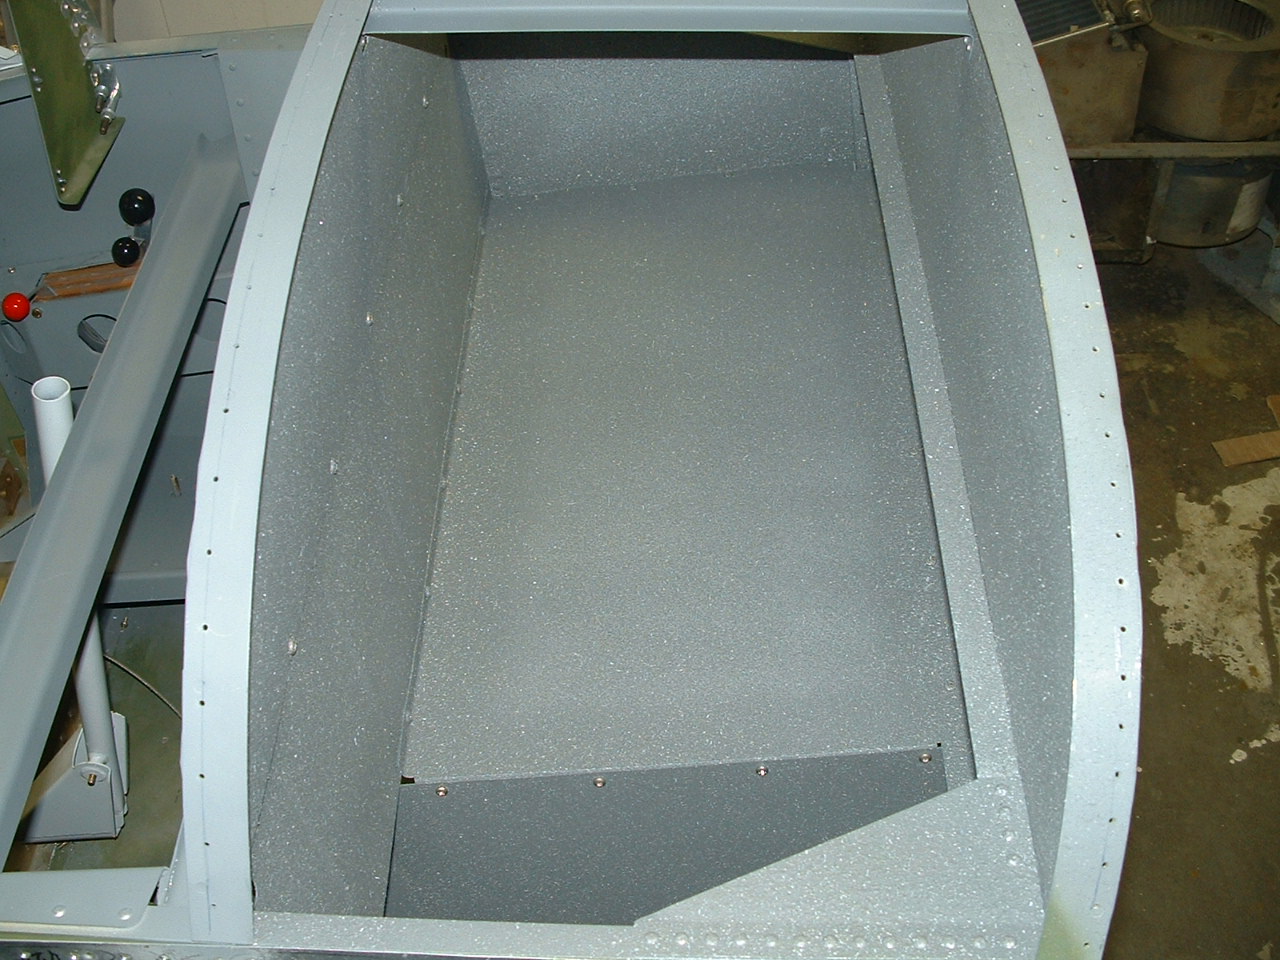
Baggage compartment. I used grey splatter paint with white speckles. |
|
|
The "Ahhhhhhh" opening! (cool air inlet for the cockpit) |
|
|
Finally the flooring is starting to go in. The tubes you see are for wiring to be routed through below the floor. The company I work for manufactures this tubing so it was only fitting that I use some! ;-) |
|
|
Elevator push-tube and bell crank in place. You can also see that there is a tube going all the way to the back to route wiring in. |
|
|
Aileron trim controls in place. I may change this to an electric servo instead of the cable and lever shown. Haven't decided for sure yet. |
|
|
Front "Joystick" mounted in place. I've since removed it and sent it to Todd at rvwoody.com to have them bent. I also purchased a bent rear stick from him. I'll post pictures as soon as I get them back. |
|
|
Rear floor sections are now permanently in place. Sure hope I ran enough tubes for wiring to go through!! |
|
|
Front baggage compartment finished. I used gray splatter paint as a finish so that there would be a little texture to it. It turned out so well that I've been told I should paint the entire inside with it. If I didn't plan to do the interior nice with cloth, I would really consider that option! |
|
|
I added the rear throttle control so the back seat guy or gal can have a little more control when I decide to let them fly a little. |
|
|
The throttle controls shown is the cheaper one Van's sells. It's a fine setup for the money but after getting it and seeing it installed, I've decided I don't like it's cheezeness and have ordered the deluxe model. I'll post pictures of that when I get it installed so you can see the difference. |
|
|
Well here is the nicer one. It makes all the difference in the world. |
|
|
Another shot looking down in the foot hole. |
|
|
After reading so much about the possibility of landing with the brakes slightly applied. I followed someone else's advice and modified the pedals so that the natural foot placement will tend to hold the brakes off. |
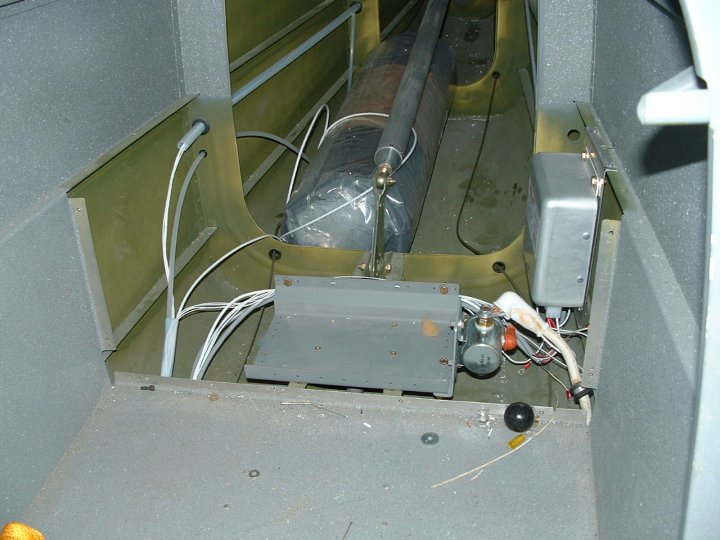 |
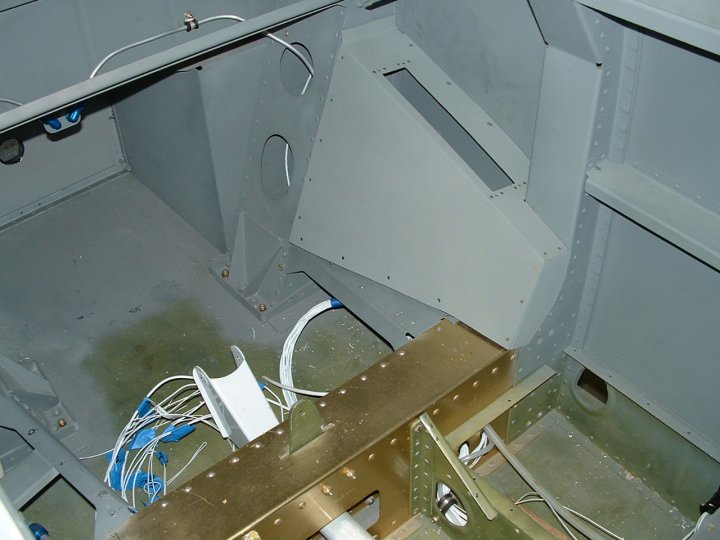
All the basic electrical is now in place. Strobe box is mounted. Master solenoid is mounted and wired to the front. Remember to put plenty of through tubes under the floor to the front. When you think you have enough, add one more!! |
 |
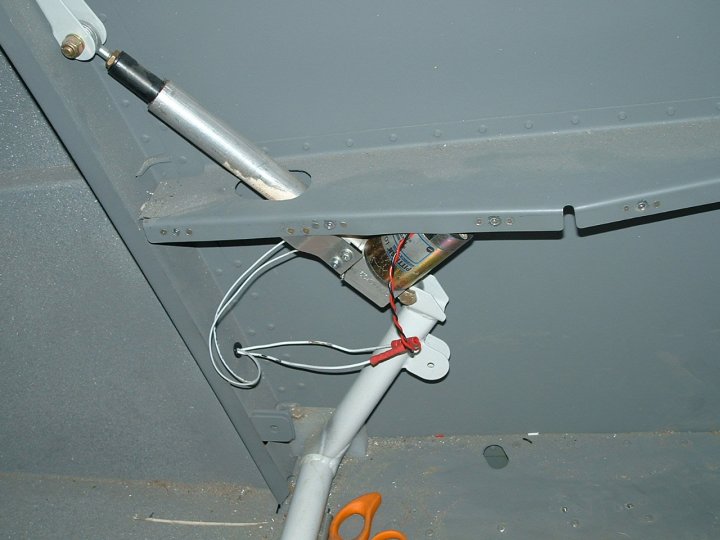
I decided to change the manual aileron trim to electric. Here is the controlling servo for that. |
 |
One plug on each side connects everything going out to the wings as for as electrical goes |
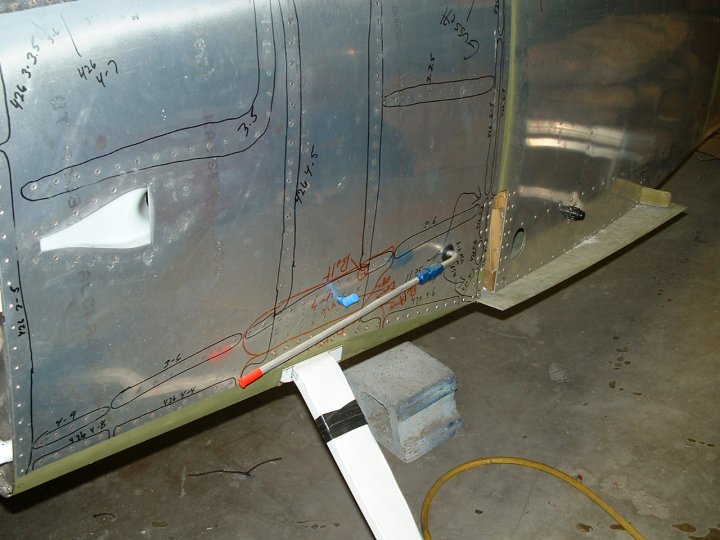 |
Fuel tube for the inverted tank wing |
 |
I added a micro switch to turn off the flap motor when the flaps are fully retracted because my control stich has a swith that is momentary down but stays in the up switched position. Didn't want the motor running all the time. |
 |
Added a custom made panel to the side to hose the switch panel and provide an enclosed area for the alt shunt and relay decks. |
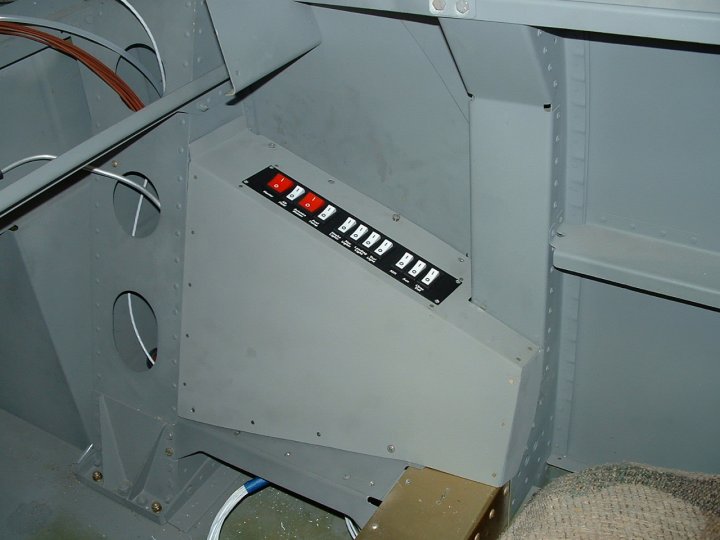 |
Here it is with the panel in place |