
The Empennage
(For you non-airplane people, it's
the tail)
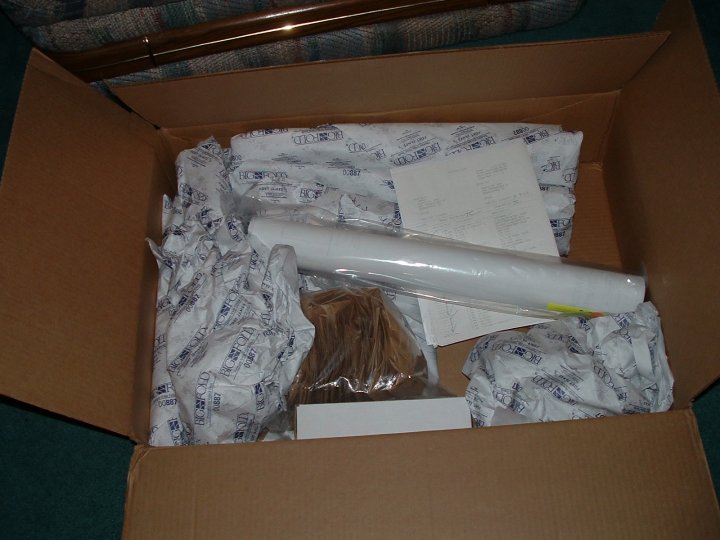
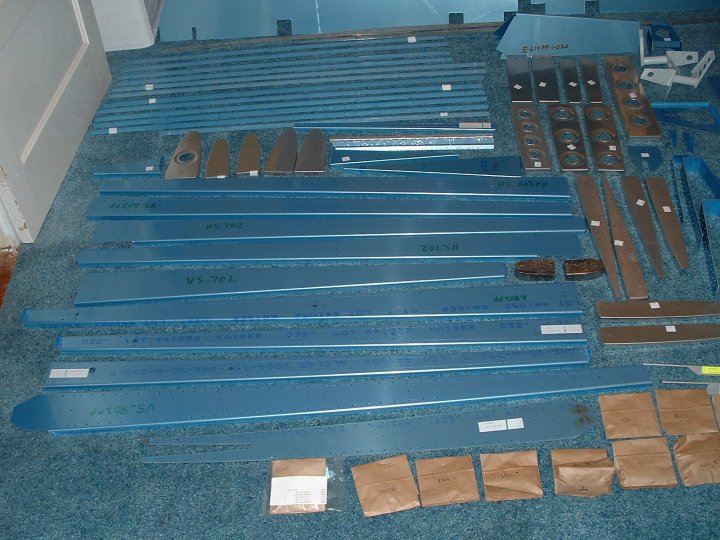
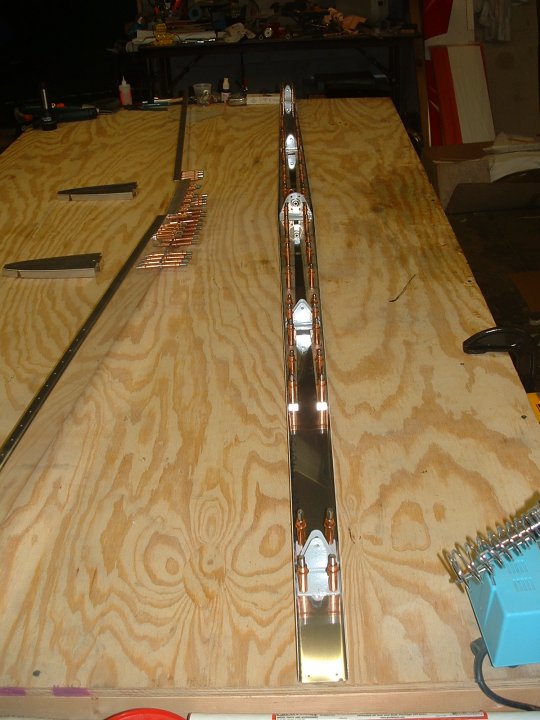
Well the first kit arrived and was packed all nice and neat in two boxes. One contained all the skins and the other all the small parts to build the internal frame. Each part is labeled with a part number and I have finished the inventory part of the project to be sure it is all there and each part has no damage from shipping. It all came out nice so I'm ready to start studying the plans and trying to figure out why it takes sooooo many dang holes to keep things together. Maybe by the time the tool I needed the most yet forgot (doh) to order arrives, I'll be ready to get started banging rivets. Shortly thereafter I'll probably be yelling for HELP!!!
 |
 |
 |
 |
 |
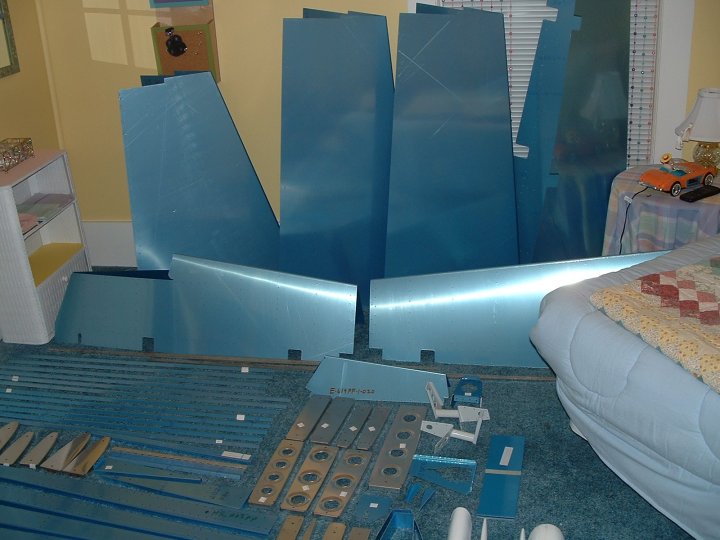
Construction Begins.
Drilling that first hole was a tough thing to do. I thought it wouldn't get any worse and then came the time to make the first cut...................now that was nerve racking!! Drilling a hole can be fixed by filling it, cutting away metal is pretty permanent!
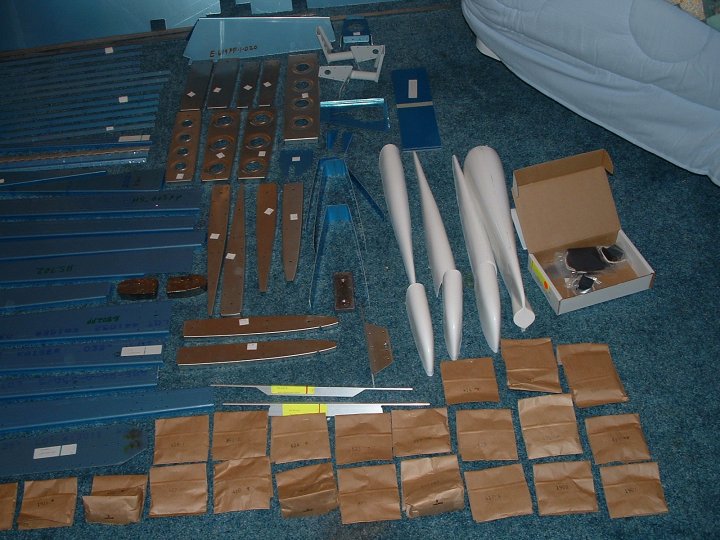
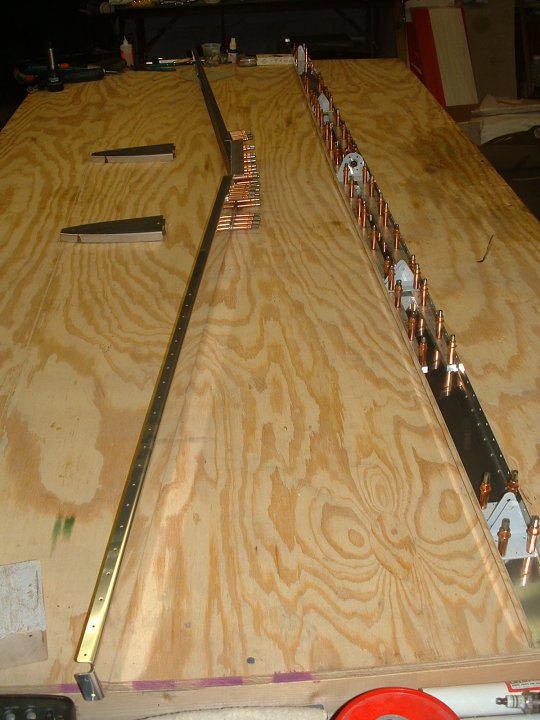
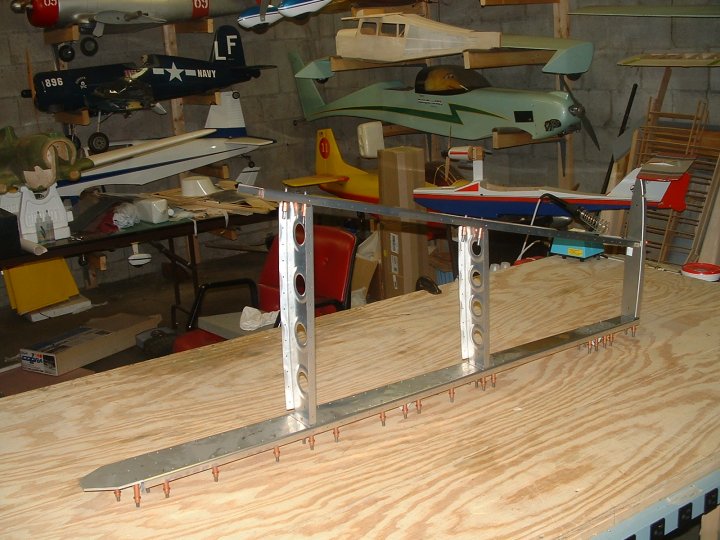
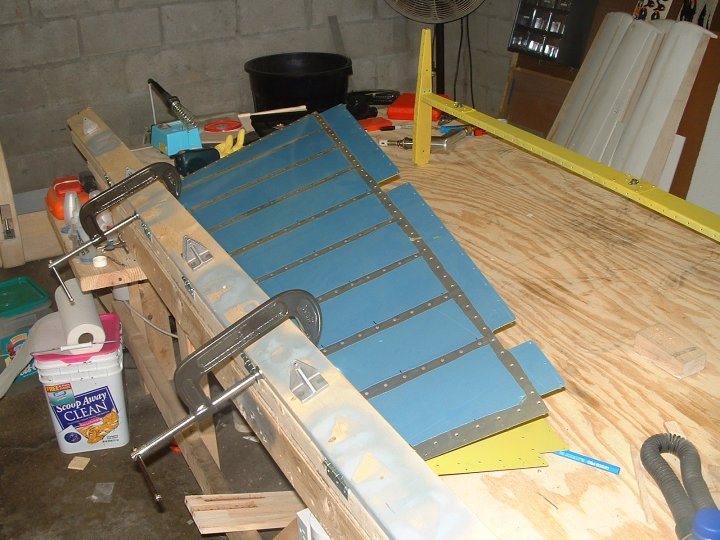
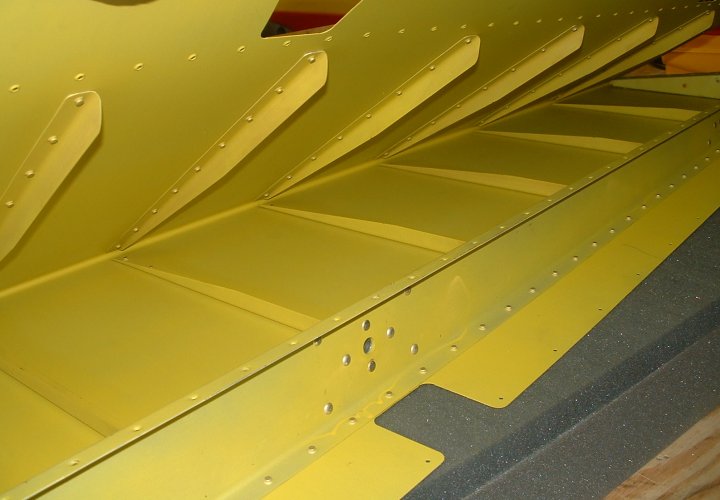
Horizontal Stabilizer
 |
 |
Skeleton framed up and ready for final drilling and primer |
 |
 |
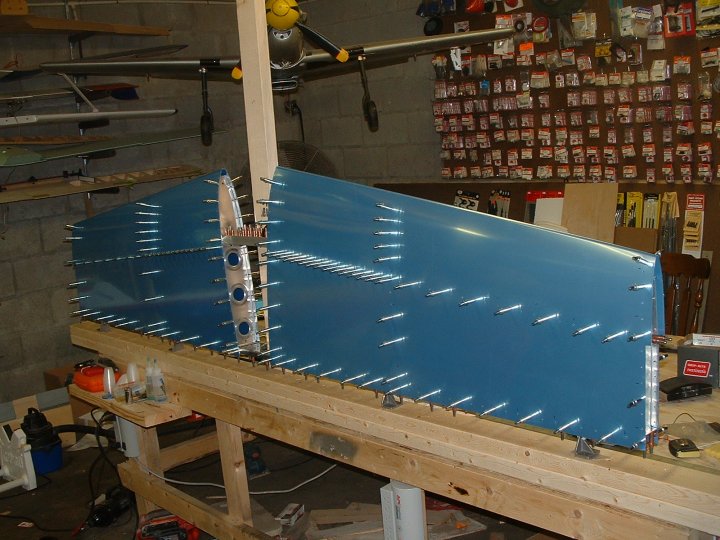 |
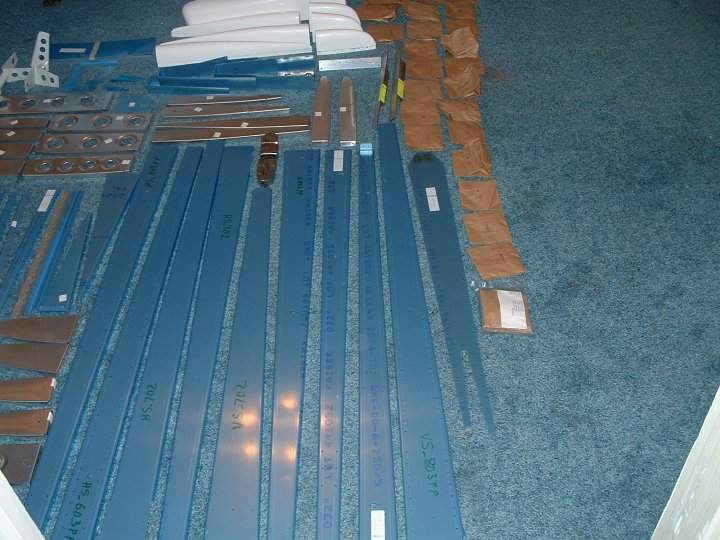
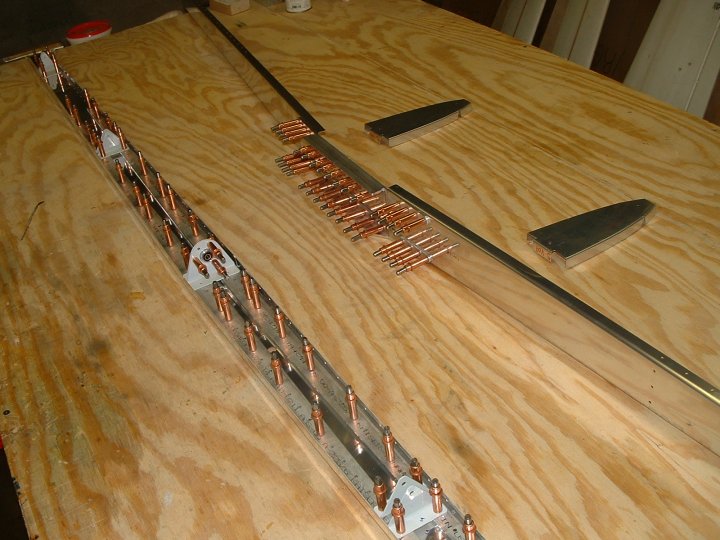
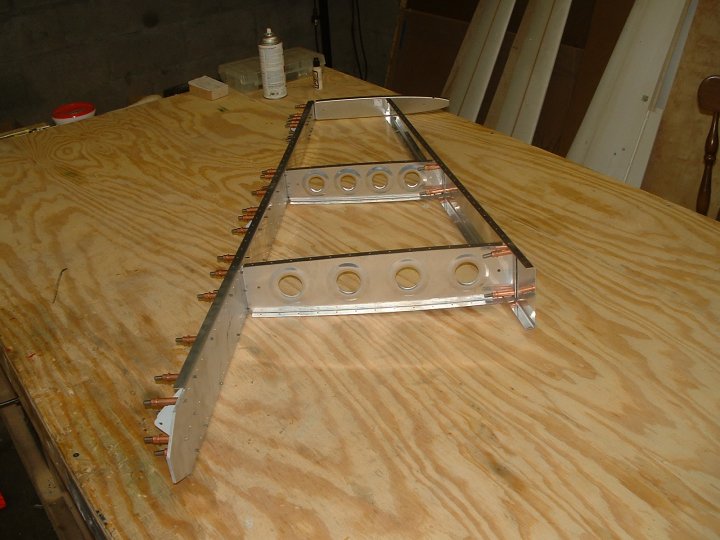
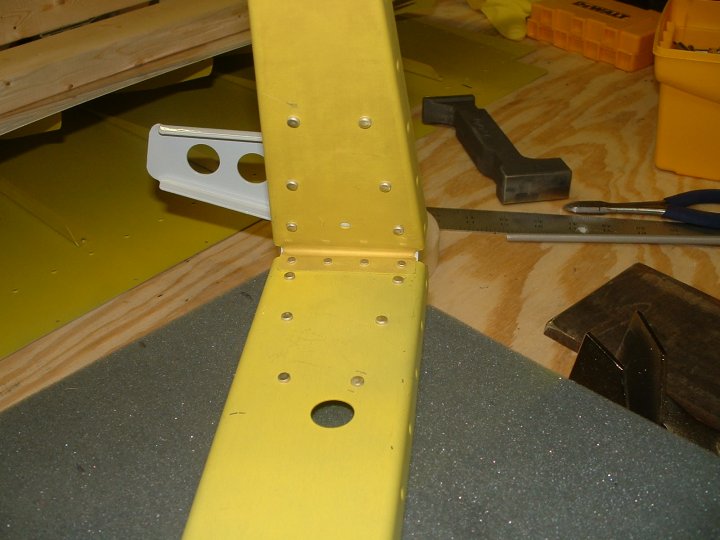
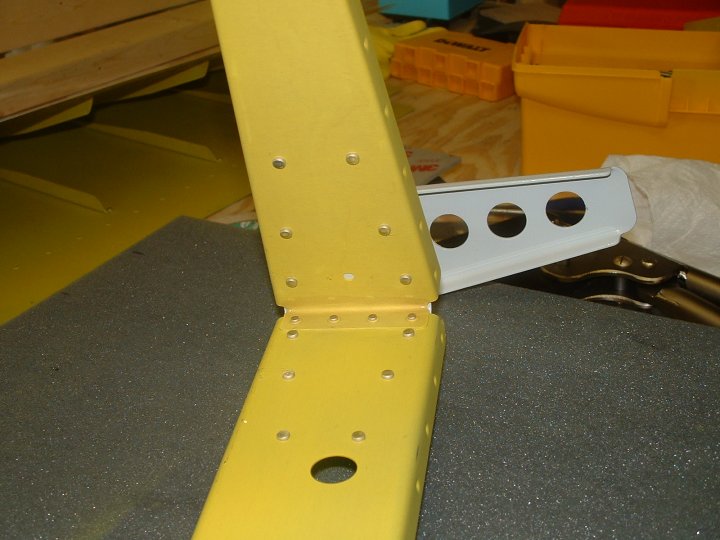
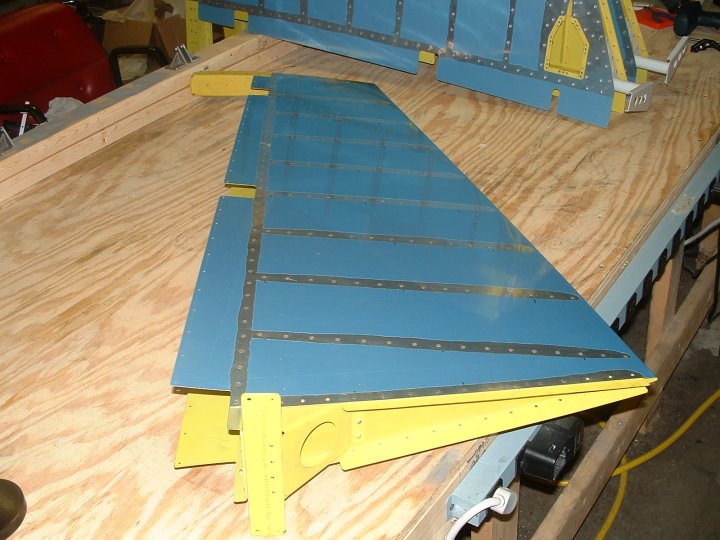
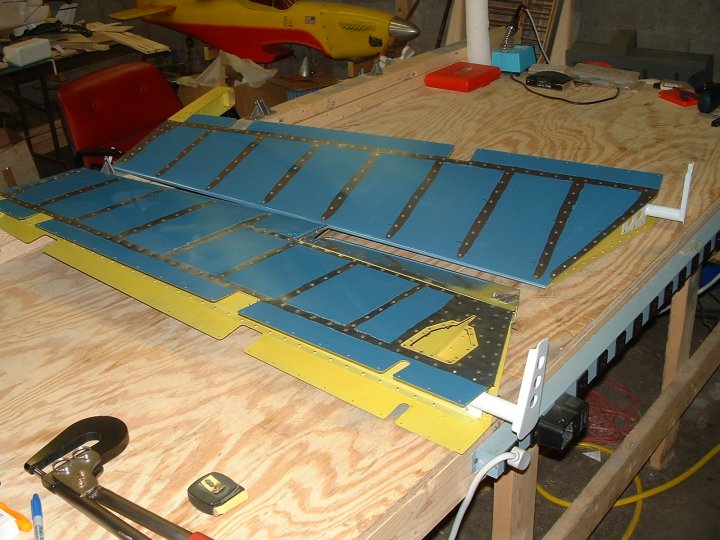
Well it's starting to resemble a part of an Airplane! |
 |
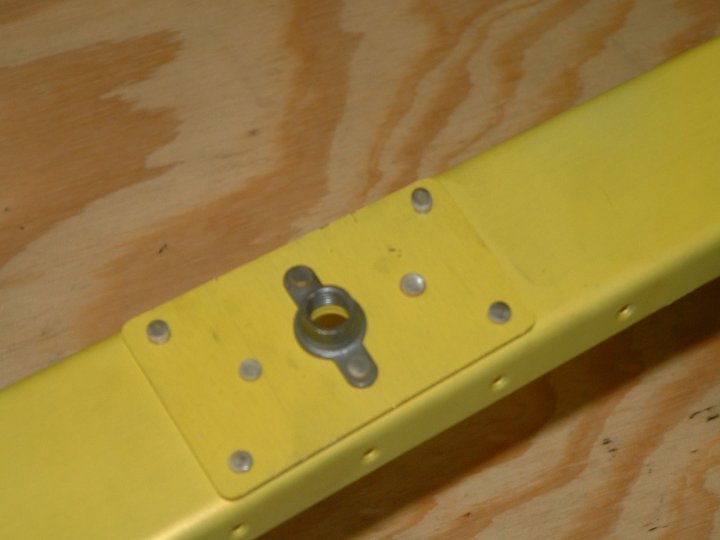
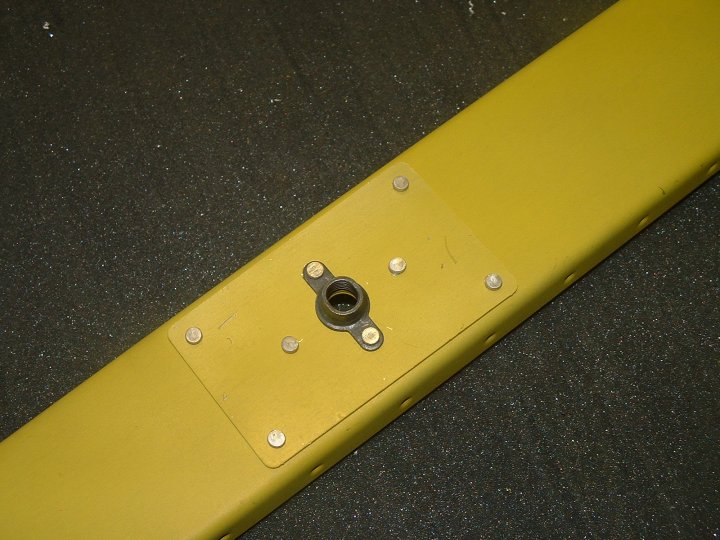
Holes are final drilled and ready to come apart for deburring, dimpling, priming and final assembly |
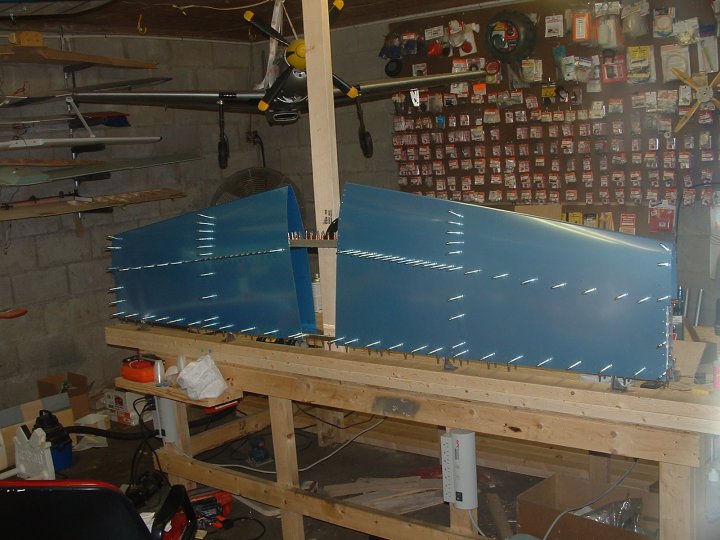 |
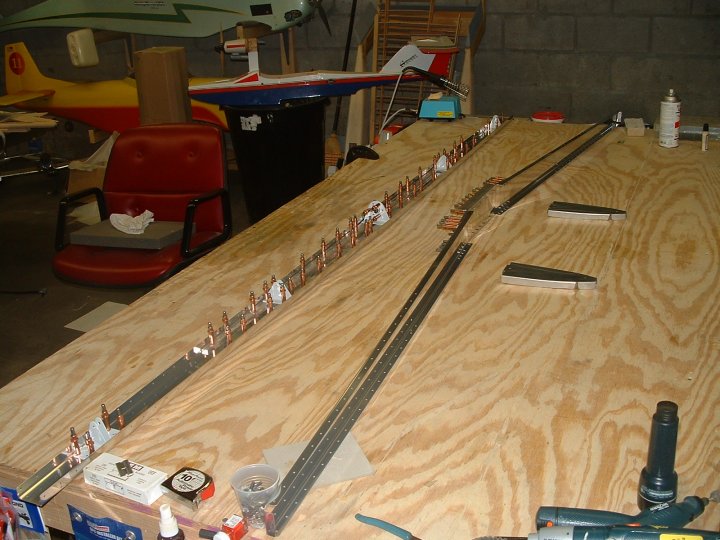
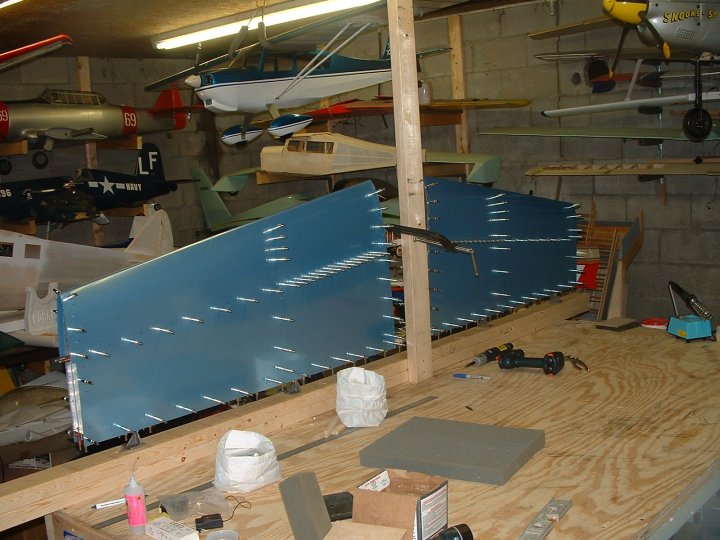
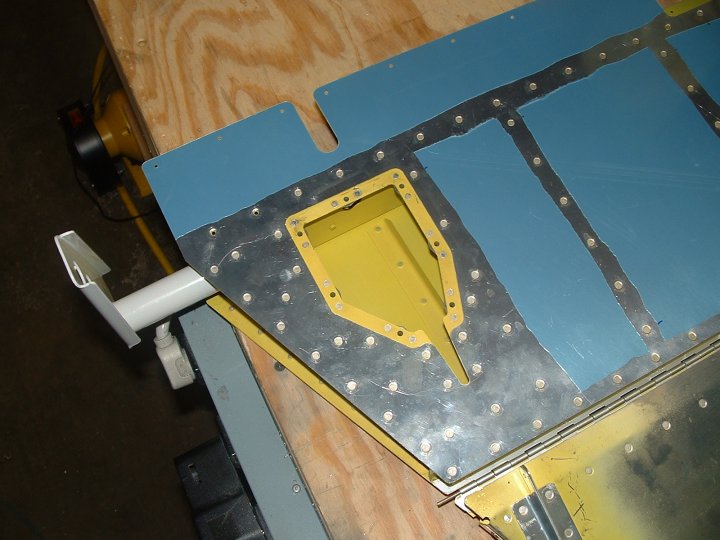
| Vertical Stabilizer | ||||
 |
 |
|||
 |
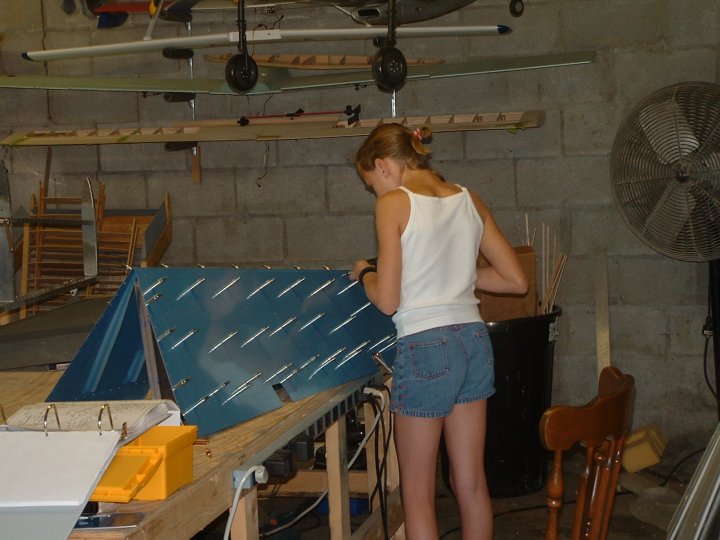
My little helper drilling holes! |
 |
||
 |
 |
 |
 |
 |
 |
 |
 |
 |
 |
 |
 |
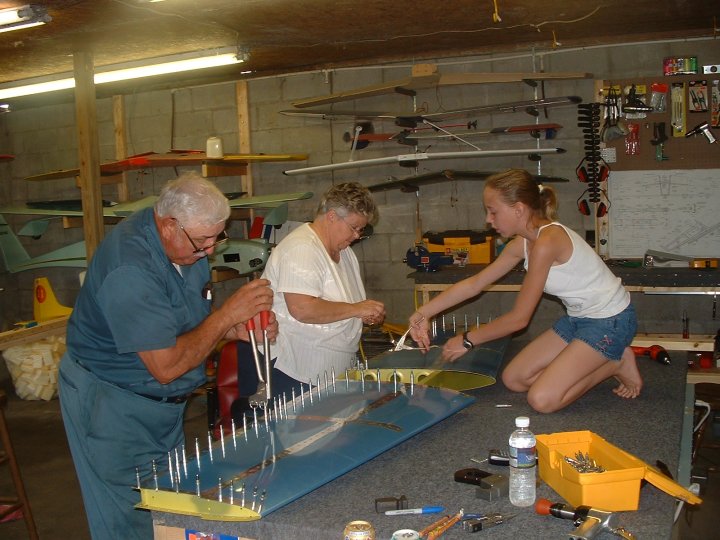 Mom, Dad, and Amber helping out |
||
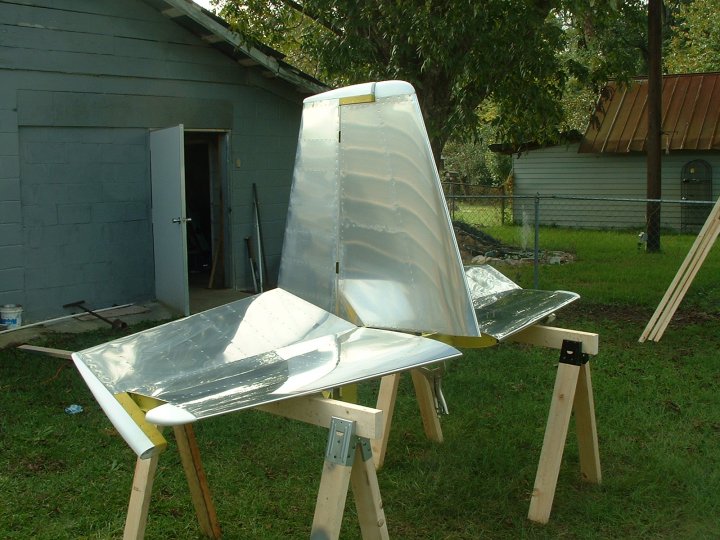 |
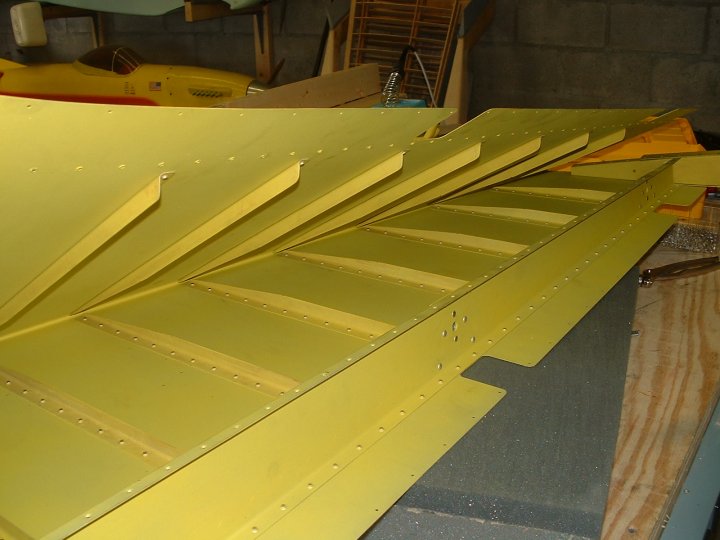
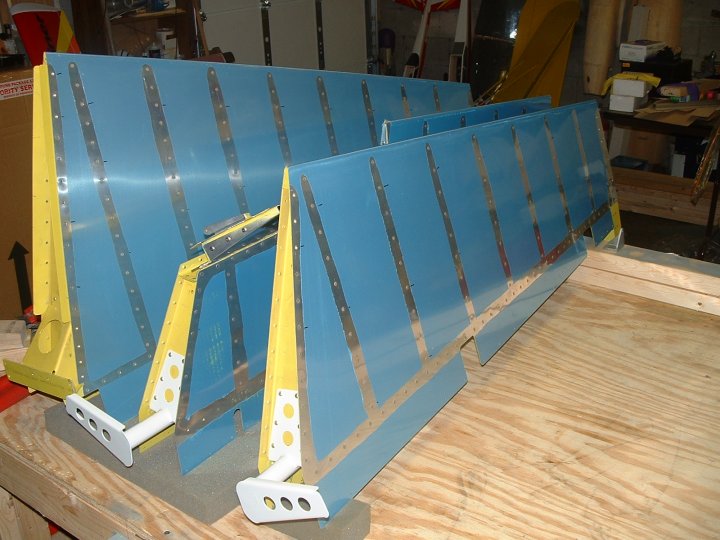
And it's Finished!!
|
 |